
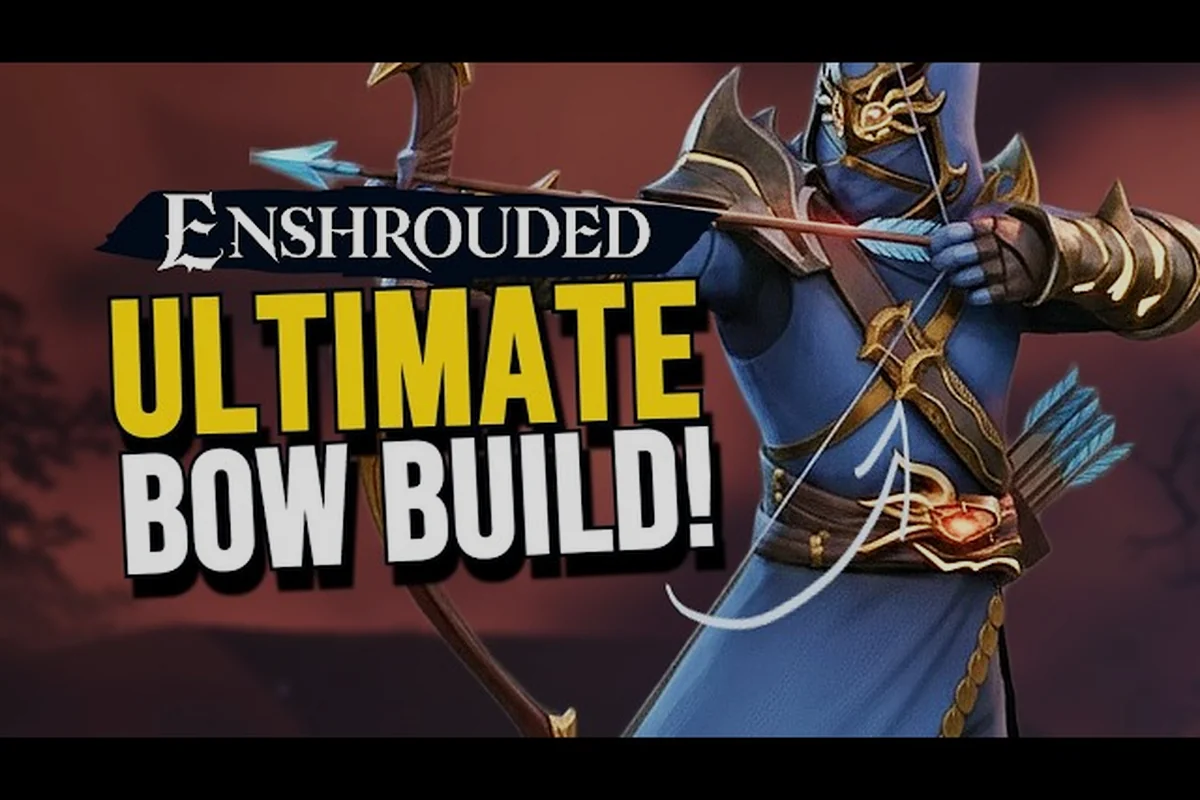
The Enshrouded best ranger build turns a fragile archer into a self-sufficient hunter who never needs to stand toe-to-toe with a boss. This guide hands you the exact bow perks, stealth synergies and skill point order that keep you lethal from range.
According to the official Enshrouded Steam news updates, skill and gear balance changes can shift which ranged abilities and bow stats perform best, so it's worth checking the latest patch notes before locking in a ranger build.
According to the official Enshrouded Steam news hub, Enshrouded's official Steam changelog regularly adjust ranged weapon damage scaling and skill interactions, so the Ranger build's numbers can shift between updates.
What Makes the Ranger Archetype Tick
The ranger sits in the middle of Embervale's skill tree, between the melee-focused juggernaut branch and the spell-slinging battlemage path. Its identity is distance: you deal damage before enemies close the gap, then reposition with the grappling hook or glider when they do. According to the official Steam store page, Enshrouded ships with a deep skill tree split across juggernaut, ranger and battlemage archetypes, and the ranger node is where bow damage, stamina economy and stealth all converge.
The core loop is simple but unforgiving. You draw, you fire, you move. Every point you spend should either increase the damage of a single shot, reduce the stamina that shot costs, or make you harder to hit while you line it up. Anything that pulls you into melee range is a trap for this build.
Here is what the ranger actually needs to function at every stage of the game: a stat spread that keeps Dexterity as the primary damage scaling attribute while Constitution and Endurance carry the survivability and stamina load, since bow damage scales off Dex but every draw-and-fire cycle drains the same stamina pool you need for dodging and the grappling hook. In practice that means roughly a 2:1:1 split between Dex, Endurance and Constitution through the early levels, shifting toward pure Dex once your gear's stamina regeneration and food buffs can sustain a full rotation without downtime.
-
Bow damage multipliers so a single arrow can delete a trash mob without a second draw
-
Stamina efficiency because drawing and firing drains the same pool you use to dodge
-
Stealth and aggro control so packs do not collapse on you the moment you open fire
-
Mobility tools like the grappling hook and glider to reset distance after a burst
-
Sustained healing through food buffs and the occasional potion rather than a dedicated healer
Players who try to hybridize the ranger with heavy armor quickly discover the build's weakness: the moment you stand still, you lose. The whole point of the Enshrouded best ranger build is that you are never where the enemy expects you to be.
If you are still deciding between archetypes, the broader class guide breaks down how the ranger compares to the tank, barbarian and mage paths before you commit points. The practical distinction is that the juggernaut branch stacks armor and health to survive trades in melee, while the battlemage leans on mana and spell scaling — neither rewards the hit-and-run rhythm this build depends on. The ranger node instead funnels points into Dexterity bow scaling, Endurance for the stamina pool behind every draw, and Constitution for the buffer that keeps a stray hit from ending the fight. Spend your first points testing that loop before locking into a hybrid, because a ranger split with heavy armor loses the mobility that makes the archetype work at all.
Ranger Skill Point Priority and Allocation
Skill points in Enshrouded are scarce, especially in the first twenty levels, so the order you spend them matters more than the total. The 1.0 changelog confirmed that unlock costs were reduced and many skill effects were buffed, which makes early ranger investment cheaper than it was during early access. Community testing on the current build suggests the following priority order holds up from level 1 through the endgame.
| Priority | Skill Category | Why It Comes First | Approx. Points |
|---|---|---|---|
| 1 | Bow damage nodes | Direct multiplier on every shot | 6-8 |
| 2 | Stamina and draw speed | Keeps your firing rhythm alive | 5-7 |
| 3 | Stealth and aggro reduction | Lets you open fights on your terms | 4-6 |
| 4 | Mobility and traversal | Grappling hook and glider upgrades | 3-5 |
| 5 | Crit and weak-point damage | Multiplies your late-game burst | 6-8 |
| 6 | Utility and survival | Food buffs, regen, resistances | 4-6 |
The mistake most new rangers make is spreading points evenly across the tree because everything looks useful. Resist that. A ranger with eight points in bow damage and zero in stealth will out-damage a ranger with four in each, because the stealth nodes do nothing until you have enough of them to actually break aggro.
Early Game: Levels 1 to 10
Spend your first points entirely on bow damage and draw speed. You want to reach a point where a single fully drawn arrow kills the basic scavengers and wildlife around your starting base. Do not touch stealth yet — at low levels you are fighting single enemies, not packs, so aggro control is wasted value.
Mid Game: Levels 11 to 20
This is where stealth and mobility come online. Once you start clearing Shroud-adjacent camps with four or five enemies, the ability to fire from cover and slip away matters more than raw damage. Pair this with the grappling hook upgrades so you can reposition vertically, which most melee enemies cannot follow.
Late Game: Levels 21+
Pour everything into crit chance, weak-point damage and survival utility. By now your bow damage is high enough that the limiting factor is how long you can stay alive during a prolonged boss fight. The Enshrouded best ranger build at this stage is less about burst and more about never getting caught.
If you want to experiment with a different point spread before committing, the skill point allocation guide explains how respecs work and which nodes are worth refunding. The key detail for a late-game ranger is that Enshrouded's respec is not free-form: you can only refund points spent in a single skill tree at a time, and each refund returns one point rather than wiping the whole board. That means a full reallocation from a crit-heavy ranger spread into, say, a tank or barbarian setup is a multi-step process — refund the Ranger tree first, bank the points, then reinvest into the survival nodes you actually need for the Shroud-heavy endgame zones.
Bow, Gear and Stat Priorities
Your weapon choice defines the ranger more than any single skill node. Enshrouded offers several bow tiers, and the difference between a mid-tier bow and an endgame bow is not just damage — it is draw speed, which directly controls how many shots you land per fight.
| Bow Tier | Best For | Key Stat | Notes |
|---|---|---|---|
| Starter bows | Levels 1-8 | Base damage | Cheap to craft, replace quickly |
| Mid-tier bows | Levels 9-18 | Draw speed | Prioritize speed over raw damage |
| Endgame bows | Levels 19+ | Crit and weak-point | Pair with crit skill nodes |
| Named/unique bows | Boss fights | Mixed bonuses | Farm specific Shroud bosses |
Armor should lean light. Heavy armor raises your defense but tanks your stamina regen, which is fatal for a build that lives and dies by the draw-fire-dodge rhythm. Look for pieces that add ranged damage, crit chance or stamina recovery, even if their raw armor value is lower than a heavy alternative.
For consumables, keep a stack of stamina food and a healing potion on your hotbar at all times. The ranger has no built-in heal, so your survivability comes from preparation rather than a skill button. Players who ignore cooking and alchemy tend to hit a wall around the mid-game boss fights.
A quick note on the Shroud itself: your time inside the fog is limited, and the ranger's mobility does not extend that timer. Plan your Shroud runs around the nearest flame altar so you always have a safe retreat, and treat every deep Shroud excursion as a timed objective rather than an open exploration.
Stealth, Positioning and Combat Flow
Stealth is the ranger's real defensive layer, and it works differently from what most players expect. It is not invisibility — it is aggro management. When you fire from outside an enemy's detection radius, you get a free opening shot. When you fire from inside it, the whole camp turns toward you at once.
The combat flow that works at every level looks like this: treat each fight as a short damage window rather than a sustained exchange. Your opening shot from outside the detection radius is free, but the follow-up shots are on a timer — every second you stay after the pack starts pathing toward you is a second you are not regenerating stamina or repositioning. The ranger's damage curve peaks in the first three seconds of a fight (fully drawn bow shot plus one quick follow-up), then falls off hard once enemies close inside your effective range. This is why the loop below front-loads burst and back-loads escape, and why builds stacking ranged crit and draw-speed multipliers outperform raw attack power on a ranger — you are optimizing the opening window, not the whole fight.
- Approach from high ground or cover so enemies have to path toward you
- Open with a fully drawn shot on the highest-threat target, usually a ranged enemy
- Fire one or two more shots while the pack closes, then reposition immediately
- Use the grappling hook to gain vertical distance rather than running backward
- Re-enter stealth range, reset aggro, and repeat until the camp is clear
The single biggest mistake is standing your ground once enemies reach you. A ranger in melee range is a dead ranger, because your bow does almost nothing at point-blank and your armor cannot absorb the hits. The moment a boss or elite closes the distance, your job is to leave, not to trade blows.
Boss Fights as a Ranger
Boss encounters reward patience over aggression. Most bosses telegraph a charge or a slam, and the ranger's advantage is that you can be far enough away to see the wind-up and still land damage during the recovery window. Treat each boss phase as a rhythm: fire during the recovery, reposition during the attack, never try to squeeze in a shot you cannot finish.
Co-op Considerations
In a group of up to sixteen players, the ranger's role shifts toward focus-firing dangerous targets and thinning adds before they reach the frontline. You are not the tank and you are not the healer, so your value comes from removing threats that would otherwise overwhelm the melee players. Communicate which target you are deleting so the group does not waste damage on the same enemy.
How the Ranger Compares to Other Builds
Choosing the ranger is a commitment to a specific playstyle, and it helps to know exactly what you are trading away. The table below compares the ranger against the other major archetypes so you can decide whether distance and mobility suit you better than raw durability or burst casting.
| Build | Strength | Weakness | Skill Floor |
|---|---|---|---|
| Ranger | Range, mobility, safe damage | Fragile in melee, no self-heal | Medium |
| Tank | Survives almost anything | Low damage, slow clears | Low |
| Barbarian | High melee burst | Must close distance, risky | Medium |
| Battlemage | Strong elemental AoE | Mana-hungry, squishy | High |
| Wizard | Flexible spell toolkit | Complex rotations | High |
| Healer | Keeps groups alive | Weak solo damage | Medium |
The ranger sits in the comfortable middle of the skill floor. It is more forgiving than a wizard or battlemage because your damage does not depend on a mana pool or a perfect spell rotation, but it demands more positioning discipline than a tank or barbarian who can simply absorb hits and keep swinging.
If you enjoy the idea of a stealthier, burst-oriented take on ranged combat, the trickster and assassin builds push the same mobility tools toward critical-hit openers rather than sustained fire. Players who prefer to stand their ground instead should look at the tank and barbarian paths, which trade the ranger's escape tools for the ability to survive a direct hit.
The Enshrouded best ranger build ultimately rewards players who think about spacing before they think about damage numbers. Every skill point, every armor piece and every consumable should answer one question: does this help me land a shot without getting hit back? Answer that consistently and the ranger becomes one of the safest, most efficient ways to clear Embervale's toughest content.
Frequently Asked Questions
Is the ranger good for solo play?
Yes. The ranger is one of the strongest solo archetypes because stealth and mobility let you control every engagement. You choose when fights start and when they end, which matters far more in solo play than raw damage. The trade-off is that you must cook food and carry potions, since the build has no built-in healing.
How many skill points does a full ranger build need?
A functional ranger comes online around level 15 to 18, which is roughly 15 to 20 invested points. A fully optimized endgame version wants closer to 35 to 40 points spread across bow damage, crit, stealth and survival nodes. You do not need every node — prioritize the multipliers that affect every shot.
Can I mix the ranger with melee skills?
You can, but it usually weakens both halves. Splitting points between bow damage and melee damage means neither reaches the threshold where it feels strong. If you want a hybrid, pick one primary damage source and use the other purely for utility, such as a melee weapon for finishing off enemies that reach you.
What is the biggest mistake new rangers make?
Standing still. New players treat the bow like a melee weapon and keep firing while enemies close in, which gets them killed. The correct response to a closing enemy is always to reposition first and shoot second. Distance is your armor, and losing it is the fastest way to die.
Do I need a specific bow to make this build work?
No single bow is mandatory, but draw speed matters more than raw damage for most of the game. A faster bow lets you land more shots per fight, which compounds with your damage multipliers. Save your best crafting materials for an endgame bow with crit or weak-point bonuses.