
Bosses
Enshrouded boss guide: the four enemy factions, boss weak points and stun bars, damage type resistances and how to clear the Hollow Halls without wasting Bone Keys.
Introduction
Enshrouded's combat identity lives in its enemy roster. Four factions cover almost everything you fight — the fungal Fell, the undead Hollow, the territorial Vukah and the Scavengers driven mad by Elixir overuse — and each one punishes a different lazy habit. Damage type resistances mean you cannot simply carry your best weapon everywhere, since a target that resists your element will make a well-rolled sword feel like a butter knife. The stun bar is the other half of the system: parries, heavy attacks and shock damage fill it, and filling it opens an Overpowered window where a merciless attack does damage no ordinary combo can match. Named bosses take that further by telegraphing two or three genuinely dangerous attacks, so learning which ones to dodge rather than block is the difference between a clean kill and a corpse run. The Hollow Halls sit at the top of that progression as Enshrouded's dungeon chain, gated by crafted Bone Keys for the end rooms. Built as a group activity but survivable solo with patience, they are where the enemy design and the loot design reinforce each other most clearly.
Faction Threat Overview
| Faction | Threat Profile | Recommended Answer | Where |
|---|---|---|---|
| The Fell | Fungal-corrupted people and animals, heavy pressure and poison | Fire weapons, dodge the lunge and punish recovery | Every region, densest near Shroud |
| The Hollow | Undead, slow but punishing in packs | Kill ranged casters first, then the melee wall | Hollow Halls and night sanctums |
| Vukah | Territorial animal-like fighters with named leaders | Bait the brawler away from the pack | Nomad Highlands camps |
| Drak | Fast, mobile pressure in wet terrain | Keep stamina for disengages, use ranged openers | Veilwater Basin |
Faction Deep Dive
The Fell
Fungal-corrupted people and animals that carry the Shroud wherever they stand
The Hollow
Undead bound to the Hollow Halls, slow alone and lethal in numbers
Vukah
Territorial animal-like fighters who camp the highlands in packs
Drak and Scavengers
Fast mobile pressure in wet terrain, plus humans broken by Elixir overuse
Core Mechanics
Every serious fight in Enshrouded runs on two meters. The stun bar fills from parries, shock damage and deliberate heavy attacks, and when it fills the target enters Overpowered, a window where a merciless attack lands for far more than any normal rotation. The focus meter sits alongside it, accumulating on any weapon and fuelling that weapon's special, so you are always choosing between spending a charge now and saving it for the stun window. Layered on top is a damage type system: enemies carry resistances and vulnerabilities, and the floating Resisted and Effective text tells you in the moment whether your chosen element is working. Bosses additionally telegraph their genuinely dangerous attacks, and parrying a projectile reflects it back rather than merely negating it. Hollow Halls add a logistics layer, since end rooms require a crafted Bone Key and the deeper runs assume you brought enough healing and lockpicks for the whole chain rather than a single chamber.
Advantages
The faction system means preparation is rewarded rather than raw stats, which gives a moderately geared player a real path through content that outscales them. Matching damage types and keeping a weapon for each resistance is cheaper than grinding five levels, and the stun and Overpowered loop gives every build access to burst damage without needing a specific class. Boss encounters telegraph their patterns clearly enough that learning them is realistic, and parry reflection turns several ranged attacks into free damage for players with good timing. The Hollow Halls chain gives group players a reason to organise and gives solo players a long-term goal, while Bone Key crafting ties dungeon loot back into the crafting system so a run always advances something. Multiplayer health scaling is also handled sensibly, meaning a bigger party does not remove the need for real tactics.
Challenges
Enemy design is not uniformly readable. Several large enemies have attack animations that look similar for very different damage outputs, and in dense fog or at night the tell can be nearly invisible, which makes deaths feel arbitrary rather than instructive. Resistance tooltips tell you that something resisted without explaining the underlying thresholds, so working out which element a boss actually fears often means community testing rather than in-game information. Hollow Halls runs punish unprepared groups harshly: arriving without enough Bone Keys or lockpicks means leaving with nothing, and the deeper chambers can be genuinely brutal without a coordinated party. Boss health scaling in multiplayer also means that a solo player who learned a fight may find it measurably harder with friends, which is an unusual and occasionally frustrating inversion of the usual dynamic.
Frequently Asked Questions
How do I beat a boss that keeps resisting my damage?+
What is the fastest way to kill a named enemy?+
Do I need a group for the Hollow Halls?+
Quick Tips
Kill the casters before the melee wall in any Hollow encounter. Hollow Reapers and Hollow Mages apply the pressure that actually kills groups, while the front-line melee enemies are slow enough to kite in circles. If you engage the pack head-on you fight both problems at once and burn through healing for no reason. Pulling the animation out of the melee cluster, deleting the ranged threats during the confusion, and then collapsing on the remaining enemies turns a scary room into a routine clear, and it costs you nothing but thirty seconds of positioning.
Treat red deadly Shroud as a boss mechanic rather than terrain. Several named fights happen near or inside infested ground, and the countdown does not pause because you are busy dodging. A player who enters that fight with a full Shroud allowance and an Hourglass Capsule in reserve fights with a completely different margin than one who wandered in at ten percent. If you find yourself losing a boss repeatedly at low fog budget, the fix is not a better weapon, it is clearing an Elixir Well first.
Check resistances before you commit to a whole dungeon chain. Bone Keys are crafted rather than found in bulk, and arriving at the end room of a deep Hollow Halls run with the wrong damage type means surviving the fight with a fraction of your intended output. Scouting the first chamber with a ranged opener gives you the floating Resisted and Effective information cheaply, which tells you whether the rest of the run is worth the consumables you planned to spend on it. Record observed resistances as you go, because hotfixes do adjust them.
Featured
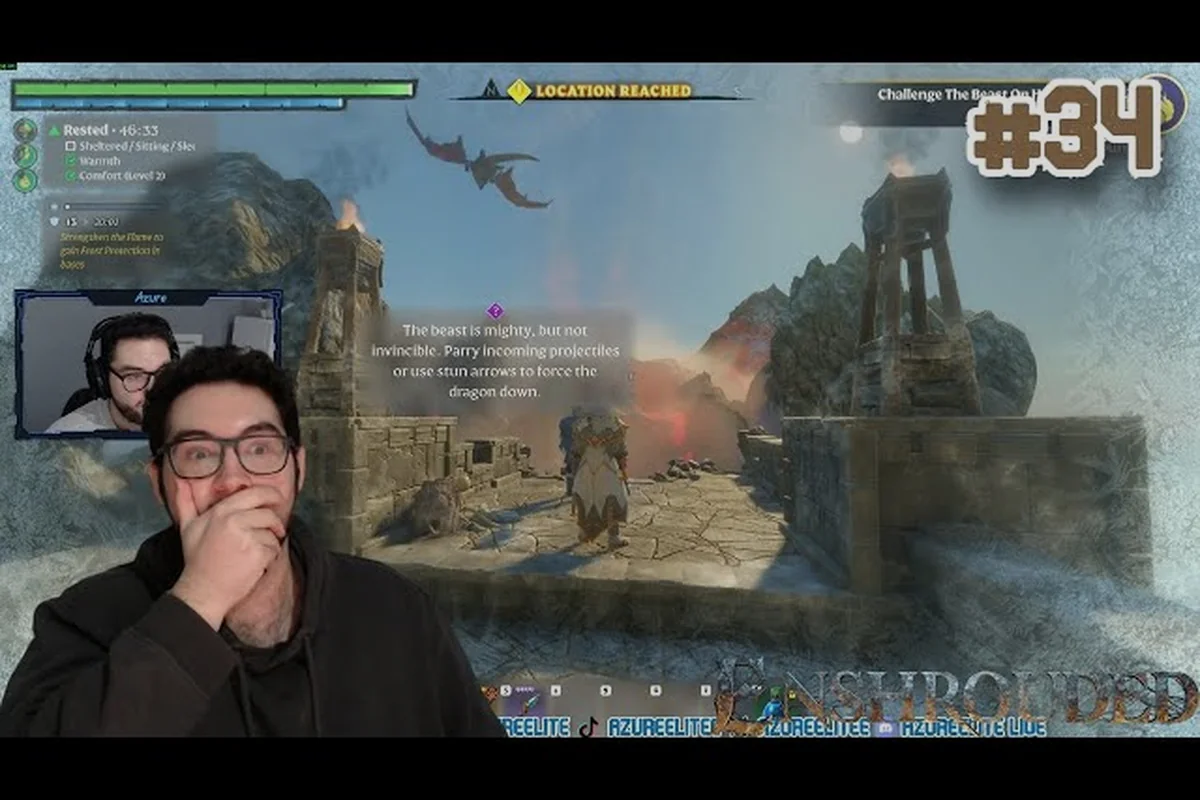
Enshrouded Albaneve Summits Boss Guide: Exhausted Phase
Beat the Enshrouded Albaneve Summits boss by exploiting its 1.0 exhausted phase, parrying projectiles and matching resistances to your weapons.
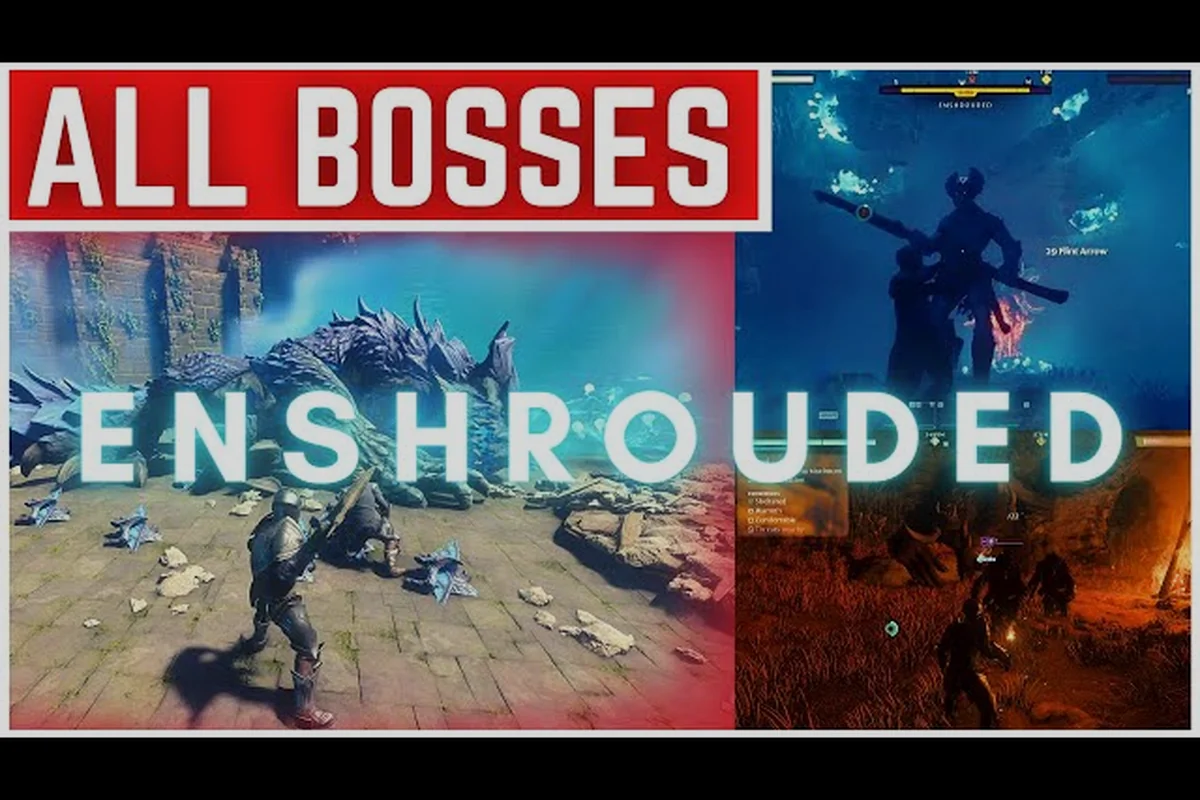
Enshrouded Boss Guide: Order, Weaknesses and Fight Prep
Plan your Enshrouded boss order with this guide, covering weaknesses, resistances and the prep that turns each fight into a win.
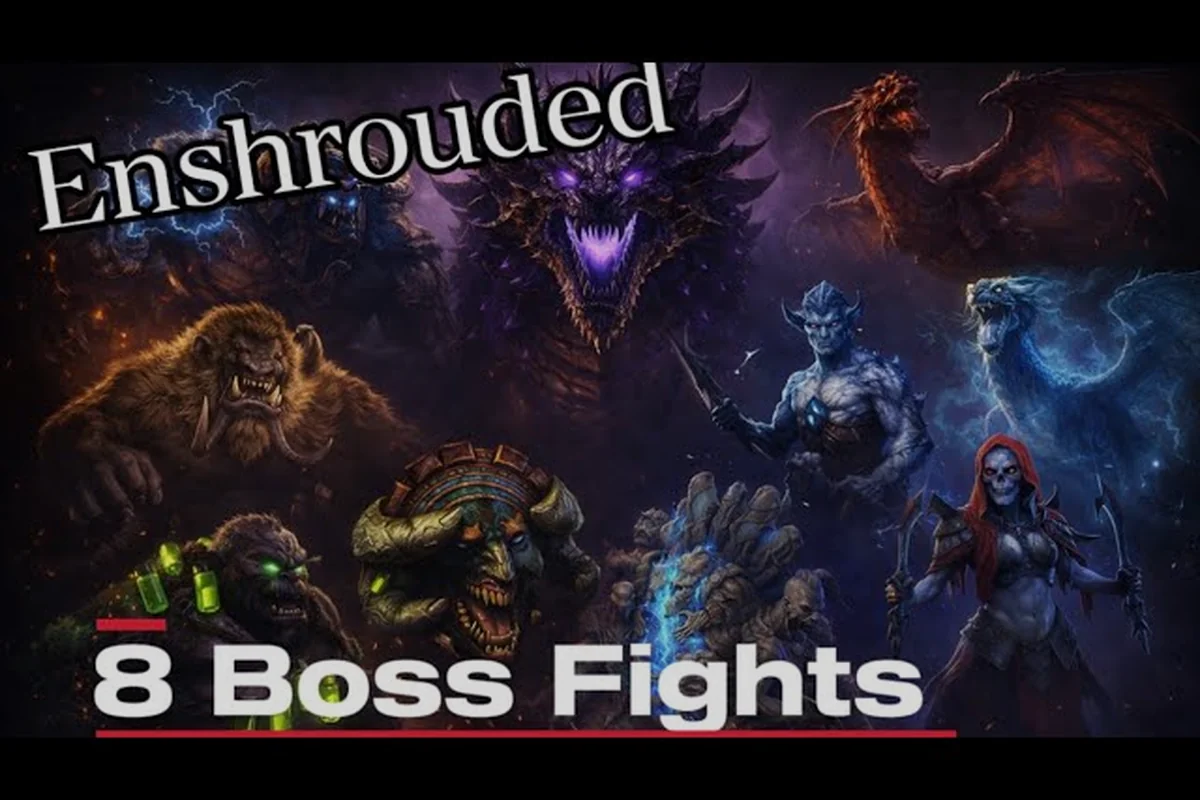
Enshrouded Boss Loot Table: Drops, Resistances and Flying Foes
Study the Enshrouded boss loot table to see what each fight drops, how resistances and damage types shape your gear, and how to ground flying bosses.
All Articles
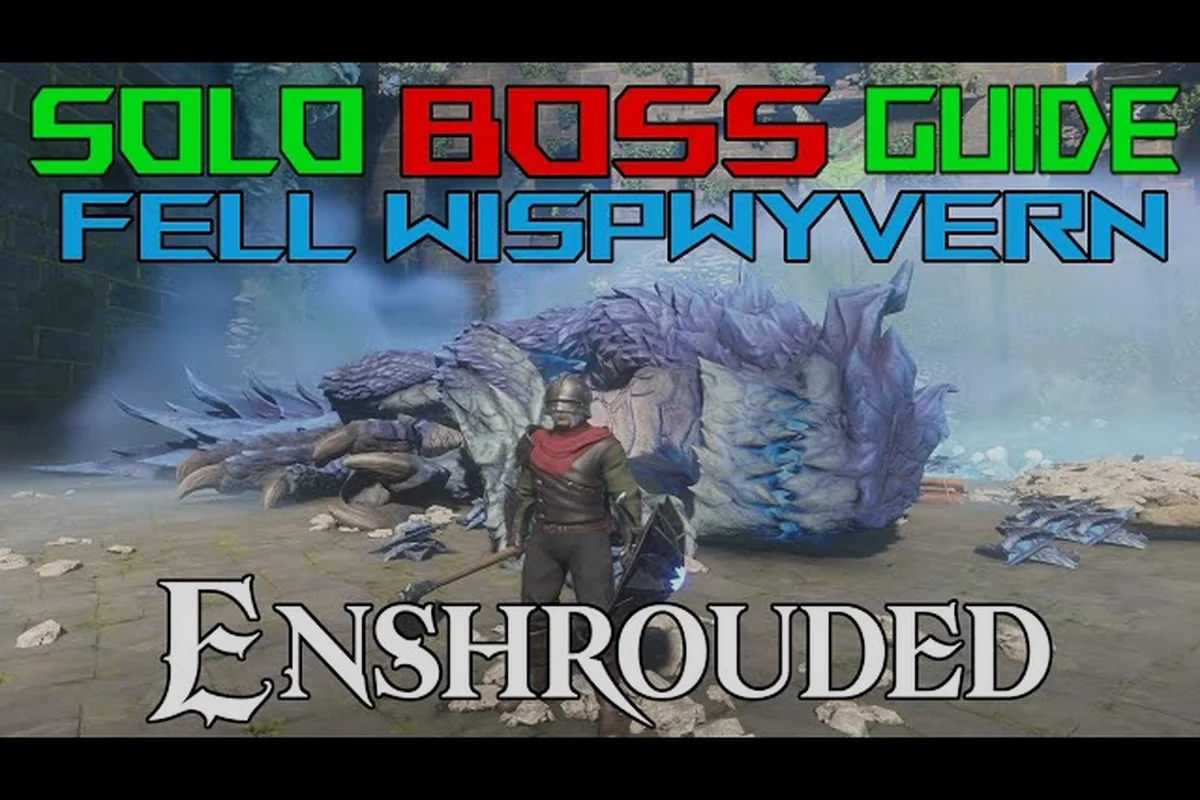
Enshrouded Fell Wispwyvern Guide: Attacks and Counters
Take down the Enshrouded Fell Wispwyvern by reading its dive and breath attacks, then punishing the recovery window with the right weapon.
Enshrouded Hollow Enemies: Scavengers, Drak and Halls
Understand Enshrouded hollow enemies, from how scavengers and drak fight to what makes the Hollow Halls deadlier, then use bestiary reads to survive underground.
Enshrouded Hollow Halls Rewards: Bone Keys, Chests and Trophies
Discover what Enshrouded hollow halls rewards drop, how bone keys open locked gates in Albaneve Summits and Veilwater Basin, and which trophies are worth farming.
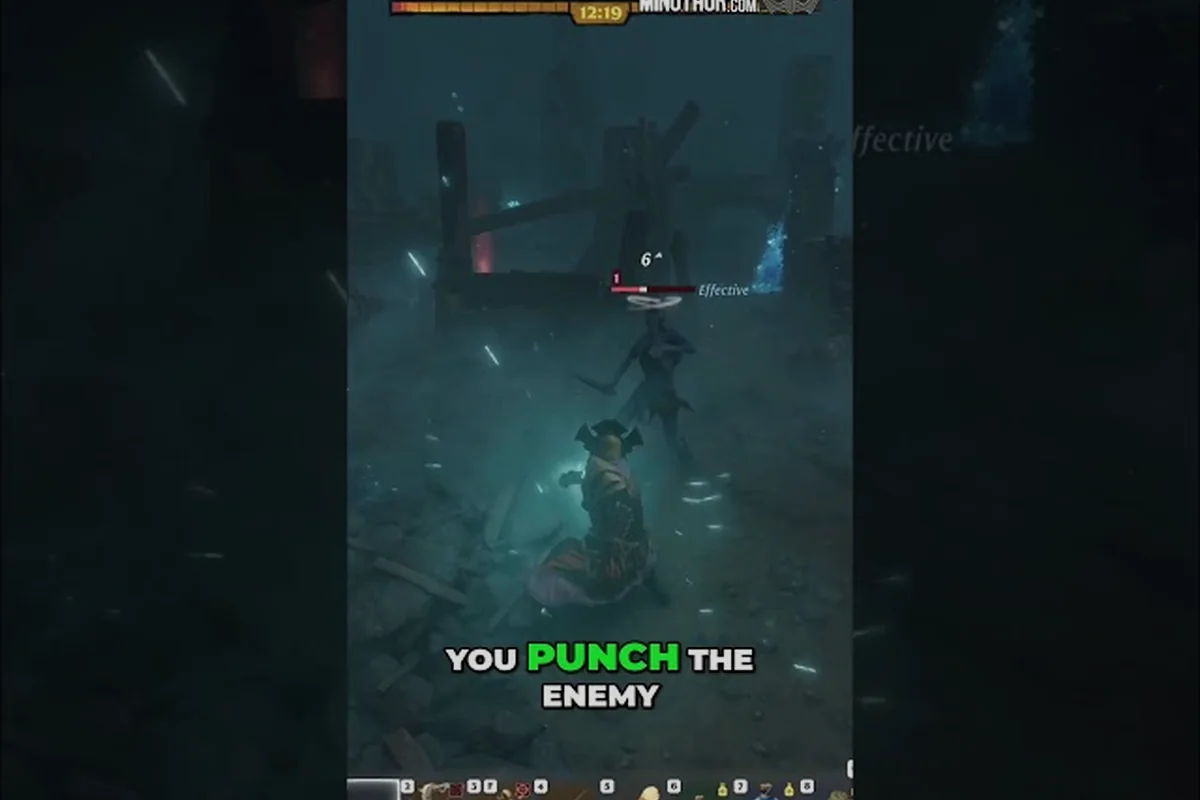
Enshrouded Boss Stun Meter: Breaking Elites and Heavies
Learn how the Enshrouded boss stun meter fills, why elite and heavy enemies stagger on different timings, and how Vukah and Fell factions change your break window.