
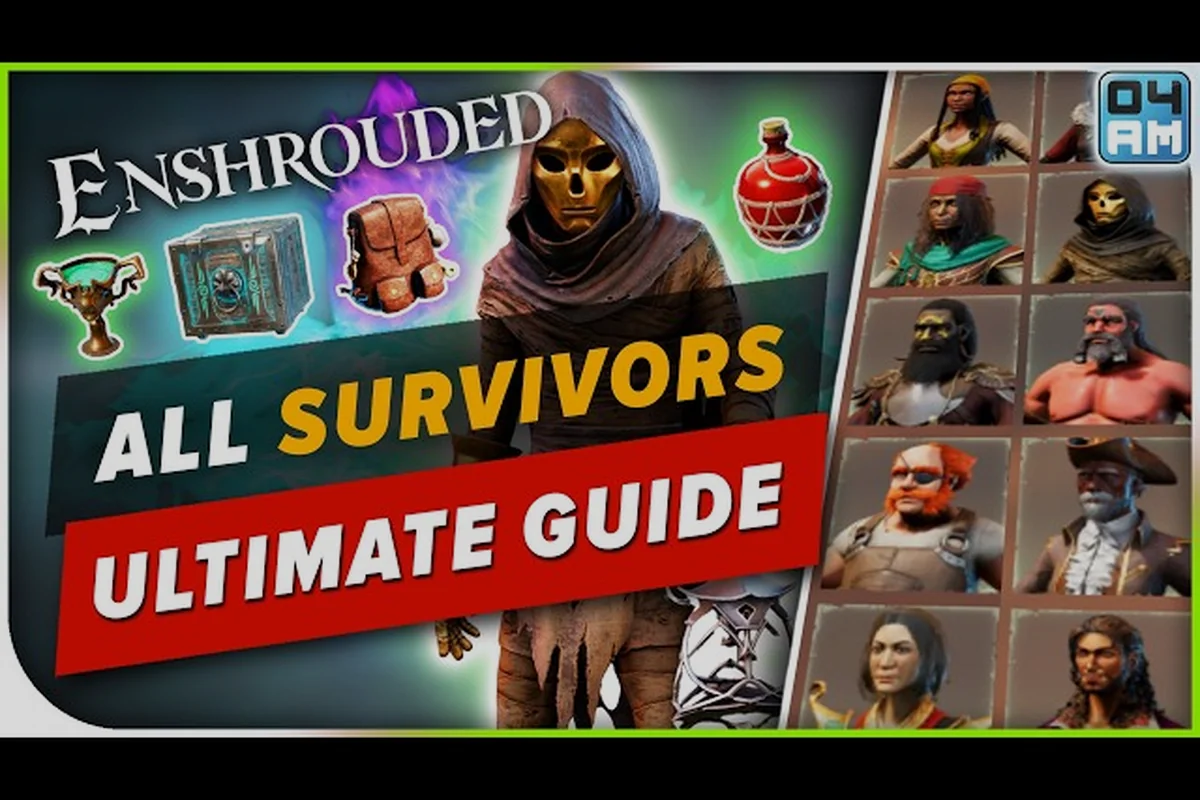
Rescuing survivors is the single fastest way to accelerate your Enshrouded progression, because every craftspeople you free unlocks new recipes, workstations, and quest lines. This survivors guide walks through where each NPC hides, what they give you, and how to bring them home safely.
Why Survivors Matter More Than Loot
In Enshrouded you play as a Flameborn, the last hope of Embervale, and the world stays hostile until you rebuild a functioning base. Survivors are the engine behind that rebuild: they staff your workstations, hand out upgrade recipes, and turn a bare altar into a real settlement. Without them, you are stuck crafting with the most basic tools and watching your gear fall behind the Shroud difficulty curve.
The official Steam page for Enshrouded confirms that rescuing NPCs sits directly inside the core loop of this survival action RPG, which you can play by yourself or alongside other players, alongside voxel building, free terraforming, and traversal tools like the grappling hook and glider. That means rescue is not optional side content — it is a progression pillar.
Here is what each rescued survivor actually contributes once you place their summoning staff on the altar and complete their recruitment quest: the Blacksmith Oswald Anders unlocks the forge and metal-tier weapons, the Alchemist Balthazar opens potion brewing and the alchemy station, the Hunter Athalan supplies ranged gear and animal husbandry, and the Carpenter enables advanced building pieces. Each NPC also gates a distinct recipe tier, so skipping one survivor can stall your entire crafting tree until you backtrack to their Ancient Vault or Shroud-root location.
-
New crafting stations you cannot build on your own, such as the forge and the alchemy station
-
Recipe unlocks for weapons, armor, potions, and building materials
-
Quest chains that reward skill points and rare resources
-
Base utility like storage, farming, and animal husbandry support
Because survivors gate so much content, the order in which you rescue them shapes your entire early game. A player who frees the blacksmith first will out-gear a player who wanders for hours, simply because better weapons and armor arrive sooner. If you are still learning the opening hours, the beginner guide covers the survival basics that make rescue runs survivable. Once you understand stamina, Shroud timers, and food buffs, hunting down NPCs becomes far less punishing.
How to Rescue Survivors in Enshrouded
Rescuing a survivor follows a consistent pattern, but the danger scales with region. The core loop is simple: locate the NPC, clear the surrounding enemies, interact with them, and then use your Summoning Staff to place them at your base. The tricky part is surviving the trip and managing the Shroud timer.
According to the the official Enshrouded news hub, the 1.0 update voiced all main crafting survivors and major quest givers, and added configurable roaming distance for placed survivors — the minimum was reduced to 2 metres. Pathfinding around obstacles, beds, chairs, and spiral staircases was also improved, so your rescued NPCs now navigate bases far more reliably than in early access.
The general rescue steps look like this, and the order matters more than it first appears — rushing step 2 is the single most common cause of a failed rescue, because Shroud enemy packs near later survivors can burst down an under-geared player before the Summoning Staff ever comes out. Note that the Blacksmith Oswald Anders sits in the Revelwood's Kindlewastes-adjacent ruins, while the Alchemist Balthazar is tucked deeper into Shroud-heavy terrain, so the same five steps carry very different risk profiles depending on which NPC you're retrieving.
-
Find the survivor's location using map markers or exploration
-
Clear the area of Shroud enemies and any hostile wildlife
-
Interact with the survivor to trigger the rescue dialogue
-
Return to your base and place them with the Summoning Staff
-
Complete their intro quest to unlock their crafting station
Each survivor also has a personal quest chain that continues after placement, and finishing those chains is how you access the strongest recipes in the game. The Blacksmith Oswald Anders, for example, gates his higher-tier weapons behind a multi-step chain that sends you back into Revelwood for rare ore, while the Alchemist Balthazar's line unlocks advanced potions only after you gather Shroud-specific reagents. These aren't optional side content — the crafting stations themselves upgrade as you progress each survivor's quests, so a base full of rescued-but-ignored NPCs will stall your gear progression hard. Skipping the quests means leaving powerful gear on the table.
Crafting Shroud Potions Before a Rescue
The Shroud is the fog that limits how long you can stay in a region before dying, and rescue locations often sit inside or near it. Before any rescue run, craft Shroud survival potions and stock food that boosts your maximum Shroud time. Community reports consistently show that players who push deep without timer extensions die mid-rescue and lose the trip entirely.
Bringing the Right Gear
A rescue run is a combat run. Bring a ranged option for pulling enemies, a reliable melee weapon for close quarters, and enough healing to survive an ambush. The crafting guide explains how to keep your weapons upgraded so you are not fighting Shroud creatures with starter gear.
All Survivors and Their Roles
Every survivor fills a specific niche, and knowing their roles helps you prioritize which rescue to chase first. The table below summarizes the main craftspeople, their function, and what they unlock, but the practical takeaway is that your crafting stations gate real progression: without the Blacksmith you cannot forge metal gear, and without the Alchemist you cannot brew the Shroud potions that let you breathe longer in the fog. Treat the roster as a dependency chain rather than a checklist — each NPC you bring back to the base camp expands what the others can produce, so an early Carpenter workbench upgrade compounds into cheaper building pieces for every later recruit.
| Survivor | Role | Key Unlocks |
|---|---|---|
| Blacksmith (Oswald Anders) | Weapons and armor | Forge, metal gear, weapon upgrades |
| Alchemist (Balthazar) | Potions and reagents | Alchemy station, Shroud potions, bombs |
| Carpenter | Wood and furniture | Workbench upgrades, building pieces |
| Hunter | Ranged gear and hides | Tanning, bows, leather armor |
| Farmer | Crops and cooking | Farm plots, seeds, food buffs |
| Collector | Rare materials | Treasure hunting, special resources |
The enshrouded blacksmith Oswald Anders is usually the first priority for most players, because metal weapons and armor carry you through the mid-game difficulty spike. The enshrouded alchemist Balthazar comes next for many, since Shroud potions directly extend your exploration range and unlock deeper regions.
Blacksmith Oswald Anders
Oswald Anders runs the forge and is your gateway to serious combat gear. Once placed, he unlocks metal weapon recipes, armor sets, and the ability to upgrade existing equipment. His quest chain sends you after rare ores and ancient forge techniques, and completing it rewards some of the best melee gear available before the endgame.
Alchemist Balthazar
Balthazar handles everything chemical: potions, bombs, and reagents. His alchemy station produces the Shroud survival potions that make long expeditions possible, plus offensive bombs that help against tough enemies. If you plan to explore the map thoroughly, rescuing Balthazar early pays off immediately.
Carpenter, Hunter, Farmer, and Collector
The remaining survivors round out your base economy. The Carpenter expands your building options and workbench tiers, the Hunter unlocks ranged gear and leatherworking, the Farmer supplies food buffs and crops, and the Collector specializes in tracking down rare materials. Together they turn a survival camp into a self-sufficient settlement.
Craftspeople Guide: Placement and Base Setup
Placement is where most settlements quietly fall apart. Because Enshrouded NPCs like Blacksmith Oswald Anders and Alchemist Balthazar path to whichever workstation or bed they can reach, a single misplaced doorframe or one-block stair riser can stall an entire crafting chain. The 1.0 pathfinding pass reduced hard-stuck cases, but it did not remove them: NPCs still clip corners on tight spiral stairs and will happily walk off an unrailed ledge if their roaming radius extends past it. Treat every survivor as a 2-metre collision capsule and plan corridors at least two blocks wide, then assign each craftsperson a dedicated alcove so their idle wandering never crosses a doorway another NPC is using.
| Placement rule | 1.0 pathfinding behaviour | Recommended setup | Failure mode if ignored |
|---|---|---|---|
| Roaming distance | Configurable before placing a survivor; minimum reduced to 2 metres | Set 2 metres for any NPC near stairs or unrailed ledges | Wander target resolves outside the alcove, NPC abandons forge queue mid-craft |
| Corridor width | Survivors treated as 2-metre collision capsules | Plan corridors at least two blocks wide | Two NPCs contest one doorway and stall a crafting chain |
| Alcove offset | NPCs path to whichever workstation or bed they can reach | Keep each craftspeople alcove at least two blocks from the nearest doorway | Blacksmith Oswald Anders and Alchemist Balthazar contest the same corridor |
| Stair design | NPCs still clip corners on tight spiral stairs after the 1.0 pass | Avoid tight spiral risers on survivor routes | Hard-stuck survivor blocks the route for every other NPC |
| Ledge safety | NPCs walk off an unrailed ledge if roaming radius extends past it | Cap roaming at 2 metres and rail any ledge inside the radius | Survivor drops off the platform and leaves their station |
| Storage clustering | Chests are pathed to like any other workstation target | Cluster storage chests within a few blocks of the workstations that consume those materials | Forge run stretches from under ten seconds to thirty-plus across the compound |
Use this placement checklist to keep your settlement efficient: verify each craftspeople alcove sits at least two blocks from the nearest doorway so Oswald Anders and Balthazar never contest the same corridor, confirm every bed and chair is offset from the primary walking path, cap roaming distance at the 2-metre minimum for any NPC stationed near stairs or unrailed ledges, and cluster storage chests within a few blocks of the workstations that consume those materials most. On a typical three-craftsperson base, this layout keeps the blacksmith's forge run under ten seconds instead of the thirty-plus you get when a survivor paths across the whole compound to reach a shared chest.
- Give each craftspeople their own workstation room or alcove
- Keep beds and chairs clear of walking paths
- Set roaming distance short for NPCs near stairs or ledges
- Group storage near the workstations that use it most
- Leave open floor space so pathfinding stays smooth
Roaming distance is configurable before you place a survivor, and the minimum of 2 metres keeps NPCs close to their station. This floor exists because Enshrouded's pathfinding samples the walkable grid around each NPC's assigned bed or workstation, and a wider radius simply hands the AI more tiles to consider — each one a chance to clip a stair riser or step off an unrailed ledge. For tight builds, shorter roaming prevents the classic problem of a blacksmith wandering off mid-craft: Blacksmith Oswald Anders will abandon a forge queue the moment his wander target resolves to a tile outside the alcove, and Alchemist Balthazar does the same mid-brew. On a compact three-craftsperson base, dropping every NPC to the 2-metre minimum typically keeps each survivor within one or two tiles of their station, so a forge run finishes in under ten seconds instead of the thirty-plus you get when a survivor paths across the compound to a shared chest.
Storage and Workflow
A clean workflow keeps crafting fast. Place raw material storage next to the forge and alchemy station, and keep finished goods near your chests. The summoning NPCs guide explains how the Summoning Staff interacts with placement and how to move survivors between bases without losing progress.
Avoiding Common Placement Mistakes
The most common mistake is cramming every survivor into one room. That causes pathfinding congestion and makes it hard to find the NPC you need. Spreading workstations across a slightly larger footprint keeps everything accessible and reduces the chance of NPCs getting stuck.
Rescue Order and Progression Strategy
The order you rescue survivors in directly affects how smooth your progression feels. A combat-focused player benefits from the Blacksmith first, while an explorer should grab the Alchemist early for Shroud potions. There is no single correct order, but a sensible default works for most players.
| Priority | Survivor | Why |
|---|---|---|
| 1 | Blacksmith | Immediate gear upgrades |
| 2 | Alchemist | Shroud potions extend range |
| 3 | Carpenter | Better base and workbenches |
| 4 | Hunter | Ranged gear and leather |
| 5 | Farmer | Food buffs and sustain |
| 6 | Collector | Rare late-game materials |
This sequence front-loads the survivors who most directly boost your power, then fills in the economy survivors once your base is stable. Players who rush the Collector early often find they lack the crafting stations to use the rare materials they gather.
Scaling With Your Flame Level
Your Flame Level determines how far you can expand and where you can place altars. Higher Flame Levels unlock new regions, which in turn hide tougher survivors and better recipes. Rescue and Flame progression feed each other: better gear lets you survive deeper regions, and deeper regions hold the survivors who make that gear.
Co-op Considerations
In co-op, up to 16 players share a world, so survivor placement and quest progress are shared too. Coordinate who rescues whom to avoid duplicate trips, and decide early which base hosts the main crafting hub. The summon survivors guide covers how shared worlds handle survivor summoning and storage.
Frequently Asked Questions
How do I rescue survivors in Enshrouded?
Locate the survivor on the map, clear the surrounding enemies, and interact with them to trigger the rescue. Then return to your base and place them using the Summoning Staff. Completing their intro quest unlocks their crafting station and recipe line.
Who should I rescue first?
The Blacksmith, Oswald Anders, is the best first pick because metal weapons and armor immediately raise your combat power, and his forge unlocks the Smithing Tools needed to upgrade gear past the early tiers. The Alchemist, Balthazar, is a strong second choice since Shroud potions extend how long you can explore dangerous regions, letting you reach deeper Shroud roots and higher-level rescue sites before the timer runs out.
What does the Alchemist Balthazar unlock?
Balthazar unlocks the Alchemy Station, plus Shroud survival potions that extend your Shroud timer, healing potions for boss fights, and offensive bombs for clearing dense enemy packs. His recipes are essential for long expeditions into high-level Shroud zones, and his quest chain rewards rare reagents like Shroud Liquid and Alchemical Base that feed into higher-tier crafting across your whole base — including the Blacksmith's advanced gear upgrades.
Can I move survivors after placing them?
Yes. You can pick survivors back up with the Summoning Staff and place them elsewhere, and the 1.0 update added configurable roaming distance so you can fine-tune how far they wander from their workstation. This makes reorganizing your base simple.
Do survivors have quests after rescue?
Every main survivor has a personal quest chain that continues after placement, and these chains are where the real power spikes live. Finishing the Blacksmith Oswald Anders chain unlocks the Blacksmith's Tools and tier-2 metal gear, while Balthazar's chain gates Shroud Liquid and Alchemical Base for advanced potions. Each completed chain also grants skill points and rare resources like Shroud Cores, so treating rescue as the end of the content leaves significant rewards unclaimed.
Rescuing every survivor in Enshrouded is the difference between scraping by and running a thriving settlement. Prioritize the Blacksmith and Alchemist for immediate power, place your craftspeople with roaming distance and clear paths in mind, and finish each quest chain to claim the best recipes. Handle those three habits and your Flameborn will be well-equipped for whatever the Shroud throws next.