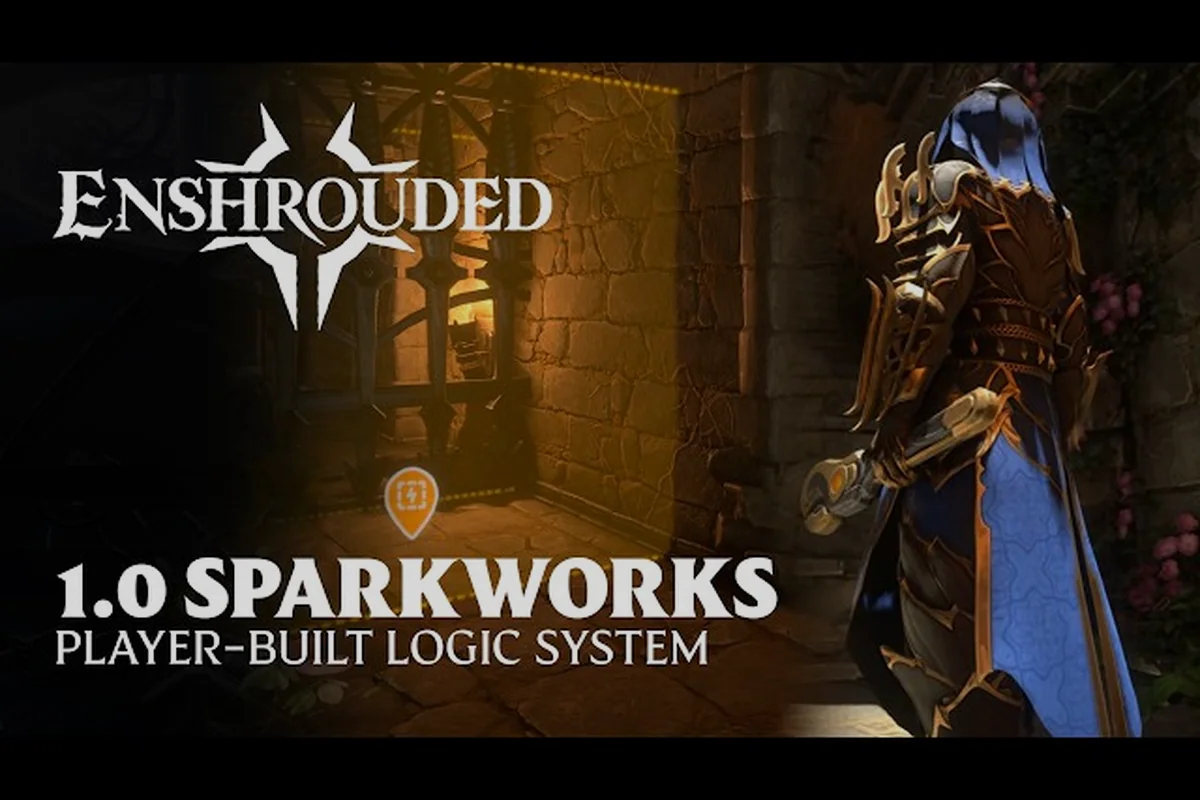
Enshrouded battle arena building turns your voxel base into a live-fire gauntlet, and the 1.0 Sparkworks logic system finally gives you the wiring to make it work. This guide shows you how to chain traps, spawners and light switches into encounters your co-op group will actually want to replay.
According to the official Enshrouded Steam news updates, the battle arena building mechanics and related balance changes are documented directly by the developers.
According to the official Enshrouded Steam news updates, the battle arena building mechanics and related balance changes are documented directly by the developers at the Enshrouded news archive on Steam, making it the most reliable reference for current arena construction rules.
Why Sparkworks Changed Battle Arena Building
Before the 1.0 update, players built arenas with terrain and hope. You placed spike traps, dropped a few enemies with console commands, and watched chaos happen. Sparkworks replaces that improvisation with a real logic layer: pressure plates, levers, timers and relays that fire in sequence. According to the official Enshrouded news hub, Sparkworks arrived alongside the 1.0 launch as the headline building feature, and it is the reason arena design now feels like level design instead of decoration.
The core idea is simple. Every Sparkworks component has an input port and an output port. Signals travel along wires you place with the build hammer, and a component either passes the signal through, delays it, or inverts it. That is the entire vocabulary — but chained together, those four behaviors produce ambushes, timed trap gauntlets and boss gates.
Here is what each component actually does in an arena context: a Pressure Plate emits a single pulse the instant a player steps on it, which makes it ideal for one-shot ambush triggers rather than sustained gates; a Lever holds a steady on/off state, so it works best as the master arm/disarm switch that kills power to an entire trap chain; a Timer Relay delays an incoming signal by a configurable number of seconds, letting you stagger spike waves or stagger Spawner releases so enemies arrive in waves instead of one clump; an Inverter flips the signal state, which is how you build fail-safe logic — a gate that opens precisely when a trap is disarmed; and a Spawner activates only on a received signal, releasing its assigned enemies at the moment your chain reaches it.
| Component | Signal Behavior | Best Arena Use |
|---|---|---|
| Pressure Plate | Sends pulse on step | Trigger ambush when a player crosses a line |
| Lever | Toggles steady signal on/off | Master arm/disarm switch for the whole arena |
| Timer Relay | Delays signal by set seconds | Stagger trap waves so they don't all fire at once |
| Inverter | Flips signal state | Open a gate when a trap is disarmed |
| Spawner | Activates on signal | Release enemies at the moment you choose |
The practical takeaway: a good arena is a signal chain, not a pile of traps. Plan the order of events first, then place components to match. Players who treat Sparkworks as a puzzle report far fewer dead-end builds than those who wire traps randomly and hope the timing works out.
Reading the Signal Flow Before You Build
Sketch the encounter on paper before touching the hammer. Ask three questions: what starts the fight, what escalates it, and what ends it. A pressure plate at the entrance starts it. A timer relay firing two spawners four seconds apart escalates it. A lever behind the arena ends it by cutting power to every trap. That three-stage skeleton fits almost any arena you want to build, whether it is a duel pit for two friends or a full boss rehearsal room.
Wiring Traps and Spawners Into a Working Gauntlet
The most common mistake in Enshrouded enemy encounter building is wiring everything to one trigger. When a single pressure plate fires eight dart traps and two flame jets simultaneously, the fight resolves in two seconds and nobody learns anything — no dodge window, no callout, no co-op coordination. The fix is to stagger your signals so each trap group activates on its own delay, letting the encounter teach the room's layout in layers rather than dumping all its damage at once.
Start with a master lever near the arena entrance. Run its output wire to a junction, then branch that wire to each trap group's timer relay. Set the first relay to 0 seconds, the second to 3 seconds, and the third to 6 seconds. Now one lever pull produces a rolling trap wave that sweeps across the floor in stages, which is exactly the pacing that makes a co-op fight readable.
For spawners, wire them to their own relay so enemy release is independent of trap timing. A useful pattern is to trigger spawners from the same pressure plate that arms the traps, but route them through a longer delay — six to eight seconds — so players get a moment to react before the room fills up. Community builders frequently note that spawner timing matters more than spawner count; two well-timed waves create more tension than ten enemies dumped at once.
A Trap Layout That Actually Reads Well
Design your danger zones around the arena's sightlines, not just its geometry. Because Enshrouded's spike traps and fire traps trigger on contact rather than proximity, you can place a pressure plate one tile ahead of a spike row so the plate's glow telegraphs the hazard behind it. Keep every trap's kill zone inside the cone of vision from the entrance arch — roughly a 90-degree spread — so a co-op partner calling targets from the doorway can read the whole floor before committing. Traps hidden behind pillars or under the Shroud fog layer break this rule and turn positioning into guesswork.
-
Spike traps along the outer ring, leaving a safe center lane
-
Fire traps in a checkerboard across the middle, forcing movement
-
Pressure plates on the safe lane, so crossing it triggers the next wave
-
Spawner alcoves behind pillars, so enemies enter from cover rather than popping into view
This layout gives you a readable arena where the challenge comes from timing and positioning rather than surprise damage. If you want to push difficulty further, add a second pressure plate deeper in that fires an inverter, which closes the exit gate until the wave is cleared.
The Light Switch Wiring Guide for Arena Control
Lighting is not decoration in an arena — it is information. Players need to know instantly whether the arena is armed, active or safe, and a properly wired light switch communicates that at a glance. This is where a solid Enshrouded light switch wiring guide pays off, because the same signal that fires your traps can also drive your lamps.
Wire your master lever to two outputs: the trap relay chain and a set of brazier lights on the arena walls. When the lever is on, the braziers ignite and the room reads as hostile. When it is off, the room goes dark and everyone knows the gauntlet is disarmed. That single visual cue prevents the classic co-op accident where someone wanders into a live trap field during a break.
You can layer more states with inverters. A second light group wired through an inverter will be lit only when the arena is off, giving you a green "safe" glow at the entrance. Three states — armed, active, safe — cover almost every arena scenario, and each one is just a lever position plus a wire branch.
| Arena State | Lever Position | Trap Power | Entrance Light |
|---|---|---|---|
| Safe | Off | Cut | Green glow on |
| Armed | On | Live | Braziers lit |
| Wave Active | On + plate | Live + staggered | Braziers flicker |
Keeping Control Wires Out of the Fight
Run control wires along walls and ceilings, never across the arena floor. A wire on the floor is a trip hazard for your own players and a visual mess that makes the trap layout harder to read. If you must cross open ground, bury the wire under a raised platform or route it through a pillar. Clean wiring also makes troubleshooting far easier when a trap fails to fire mid-session, since you can trace a single line instead of untangling a web.
Building Co-op Boss Strategies Into the Arena
An arena is only as good as the fights you run in it, and the 1.0 enemy roster gives you more to work with than ever. The official 1.0 changelog notes that the new Cinder's Cradle faction adds 14 new enemy types, and that combined with new variants for existing factions the update brings 37 new enemies in total. That variety is what makes a custom arena worth building — you can rehearse specific matchups instead of grinding the same world boss.
One mechanic changes how you should design encounters: enemies now recover health over time when players leave the combat area instead of resetting instantly. For arena builders this is a gift. A party that wipes can re-engage a boss right after a wipe and find it partially healed rather than fully reset, which keeps a rehearsal session moving. Design your arena with a clear "combat area" boundary — walls or a sunken pit — so the recovery rule triggers predictably.
Pair your arena with the right team setup. A balanced Enshrouded best co-op team composition usually includes one tanky frontliner to hold enemy attention, one ranged damage dealer, and one support running heals and crowd control. In an arena, that composition matters even more because the space is tight and there is nowhere to kite indefinitely. If you are still deciding who plays what, the best class for co-op breakdown walks through how each specialization performs when the room is small.
Rehearsing Boss Mechanics in a Controlled Space
Use your arena to drill the mechanics that kill groups in the open world. Set a spawner to release the boss variant you keep losing to, wire a timer to cut the lights at the moment its big attack lands, and practice the dodge timing until it is muscle memory. The Albaneve Summits boss guide covers the specific weaknesses and resistances worth testing, and an arena lets you run those tests without trekking across the map between attempts.
Traps and Puzzles: Designing Encounters That Teach
The best arenas double as tutorials. A well-built Enshrouded traps and puzzles guide in level form does not just punish mistakes — it teaches players what the correct response looks like. Build your first wave so that the safe path is obvious, then tighten the timing in later waves until players have to commit to a route. That progression is what turns a novelty build into a training ground your group returns to.
| Wave | Trap Types | Lane Spacing | Spawner Count | Puzzle Element | Intended Failure Mode |
|---|---|---|---|---|---|
| 1 | 1 (single hazard) | Generous, full-width safe path | 1 | None | None — anyone paying attention survives |
| 2 | 2 (forced movement-pattern switch) | Tightened lanes | Staggered spawners | None | Misreading the second trap's timing |
| 3 | 2 combined + spawner wave | Compressed, split-attention layout | Spawner wave synced to hazards | Timed gate | Group splits attention between floor hazards and enemies |
| 4 | Full gauntlet (all prior hazards) | Full gauntlet layout | Sustained spawner pressure | Mid-fight lever objective | Solving the lever under pressure while managing hazards |
Sequence difficulty deliberately. Wave one should be survivable by anyone paying attention. Wave two adds a second trap type so players must switch movement patterns. Wave three combines both with a spawner wave, forcing the group to split attention between floor hazards and enemies. By wave four, you can introduce a puzzle element — a lever that must be pulled mid-fight to open the exit — and the group will already trust the arena's rules enough to solve it under pressure.
-
Wave 1: single trap type, generous spacing, one spawner
-
Wave 2: two trap types, tighter lanes, staggered spawners
-
Wave 3: combined hazards plus a timed gate puzzle
-
Wave 4: full gauntlet with a mid-fight lever objective
Keep a written note of your relay delay values somewhere in the base. When you tweak timing between sessions, having the old numbers on hand saves you from re-deriving the whole chain. If your group also struggles with survival outside the arena, the hourglass capsule and Shroud survival guide covers the resource habits that keep a long session going.
Frequently Asked Questions
Do I need the Sparkworks logic system to build a battle arena?
No, but it is what makes one worth running. Without logic components you can still place traps and spawners manually, yet you cannot stagger waves, gate exits or create multi-stage encounters. Sparkworks, added in the 1.0 update, is the feature that turns a decorated room into a functioning gauntlet.
How many enemies can a single spawner release?
Spawner output depends on the enemy type and your arena's size, and community builders recommend testing each spawner in isolation before wiring it into a chain. Two well-timed waves generally create more tension than one massive dump, so start small and scale up once your timing feels right.
Can I run a battle arena in solo play?
Yes, and it doubles as a practice range. Wire the master lever to a short delay so you have time to reach position, then run the same wave sequence you would use with friends. Solo runs are the fastest way to tune relay timings before you subject your co-op group to them.
What is the best co-op team composition for arena fights?
A durable frontliner, a ranged damage dealer and a support with heals and crowd control covers most arena scenarios. Tight spaces punish pure glass-cannon builds, so at least one player should be able to absorb hits while the others reposition around traps and spawner waves.
Why do my traps fire all at once?
Every trap is probably wired to the same trigger with no delay. Route each trap group through its own timer relay and set staggered values — zero, three and six seconds work well — so one lever pull produces a rolling wave instead of a single instant burst.
Final Thoughts on Arena Design
Enshrouded battle arena building rewards planning over decoration. Sketch the encounter, wire a master lever to staggered relays, use lights to signal arena state, and design waves that teach before they punish. With Sparkworks handling the logic and the 1.0 enemy roster supplying the opposition, your base can become the most replayable content your co-op group owns.