
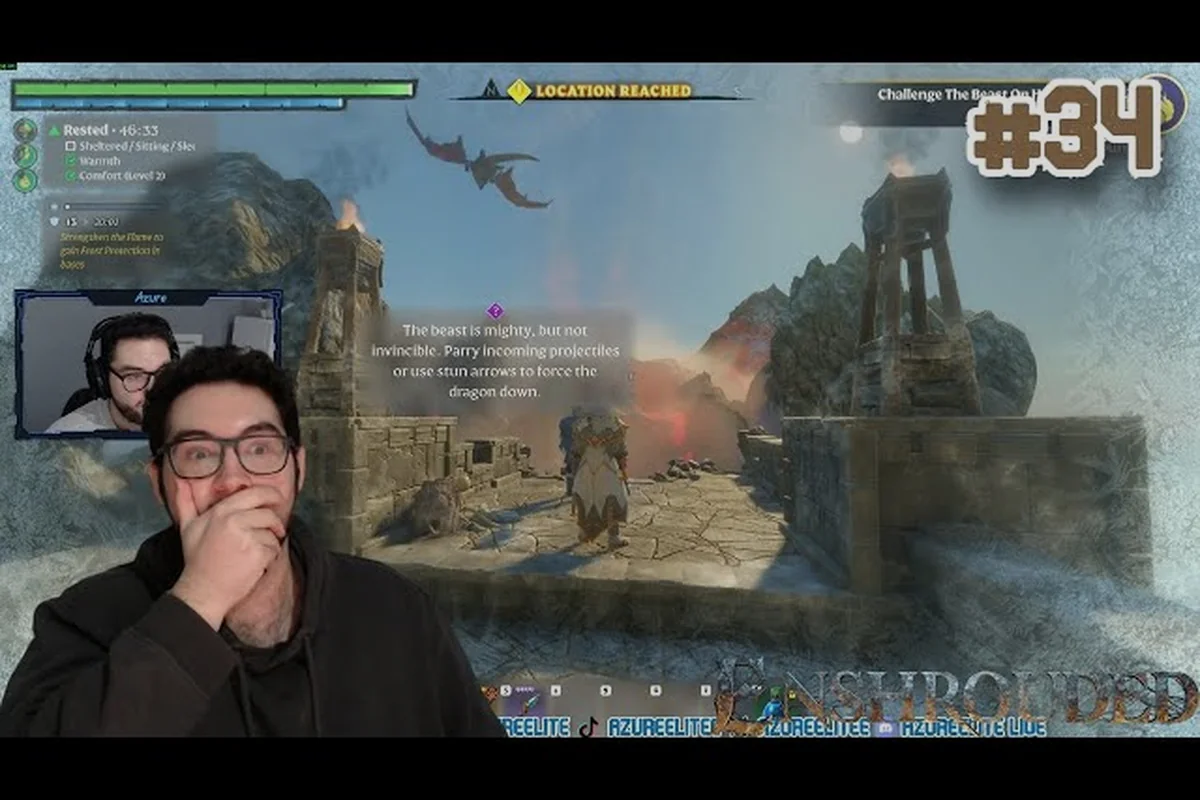
The Albaneve Summits boss once punished melee players with a brutal health pool, but the 1.0 rework changed everything. This Enshrouded Albaneve Summits boss guide walks you through the new exhausted phase, the weak point on its back, and the exact resistances that decide whether your build melts it or stalls out.
For the most current details on boss behavior, spawn conditions, and any balance adjustments, check the the Enshrouded Steam news feed, which document changes that can affect these Albaneve Summits encounters.
Why the 1.0 Rework Changed This Fight
The launch build of Enshrouded shipped a very different summit encounter than the one players face today. According to the official Steam changelog, the Albaneve Summits boss was substantially nerfed in health and gained a brand-new exhausted phase where it drops onto the walkable area, letting melee builds finally close the gap and land real damage. That single change flipped the fight from a ranged-only slog into something every archetype can contest.
The arena itself was widened, and grapple anchors were added so you can swing back onto the platform after being pushed off the edge. If you have ever been knocked into the void mid-fight, you know how much that matters. The stun meter was also reworked, which means stun arrows and shock damage now contribute meaningfully alongside parrying its projectiles.
Here is what changed at a glance: the post-1.0 boss health pool dropped enough that a fully charged melee combo during the exhausted phase now out-damages a full quiver of arrows, and the weak point that used to register arrow hits only now accepts every weapon type — so a two-handed hammer or a shock-infused staff can punish the stagger window just as hard as a bow build.
| Mechanic | Pre-1.0 Behavior | Post-1.0 Behavior |
|---|---|---|
| Boss health pool | Very high, ranged-favored | Substantially reduced |
| Exhausted phase | Did not exist | Boss stands on walkable ground |
| Weak point | Arrows only | Works for all weapon types |
| Arena | Narrow ledges | Wider with grapple anchors |
| Stun meter | Weak response | Stun arrows + shock scale well |
The practical takeaway is simple: the fight now rewards aggression during the exhausted window instead of punishing anyone who is not holding a bow. If you want a broader look at how this encounter fits the wider progression, the full boss order breakdown maps every major fight in sequence.
Reading the Boss Weaknesses and Resistances
Before you commit a single weapon to this fight, understand what the boss actually resists. Community testing since launch consistently shows that the summit boss shrugs off certain damage types while taking amplified damage from others, and bringing the wrong element turns a five-minute fight into a fifteen-minute war of attrition.
The core rule is that shock damage and stun-focused builds perform best here because the reworked stun meter responds to them. Fire and physical damage still work, but they will not accelerate the stagger. Meanwhile, pure poison or bleed stacking underperforms because the boss's resistances blunt damage-over-time effects.
| Damage Type | Effectiveness | Notes |
|---|---|---|
| Shock | High | Feeds the reworked stun meter |
| Physical | Medium | Reliable, no stagger bonus |
| Fire | Medium | Fine as a secondary element |
| Poison / Bleed | Low | Resistances blunt DoT ticks |
| Stun arrows | High | Best single stagger tool |
Matching Your Weapon to the Fight
Your weapon choice should follow your damage type, not the other way around. A shock-infused melee weapon lets you punish the exhausted phase while still building stagger, which is the ideal combination for this encounter. Rangers who prefer distance should lean on stun arrows to trigger the exhausted state, then swap to a higher-damage option once the boss is down. The boss loot table and resistance reference is worth checking before you respec, since it lists which damage types each major boss resists and helps you avoid wasting a full gear set on the wrong element.
The Weak Point on Its Back
The single biggest damage multiplier in this fight is the weak point on the boss's back. Before 1.0, only arrows could exploit it, which locked melee players out of the best damage window. Now every weapon type triggers the bonus, so a two-handed hammer swing into that spot during the exhausted phase can delete a huge chunk of health.
The catch is positioning. You need to circle behind the boss while it is grounded, which means baiting its frontal attacks first, then rolling through or around to reach the rear. Practice this on a lower-tier boss if the timing feels tight, because the payoff is enormous.
How to Parry Boss Projectiles
Parrying is the skill that separates players who survive this fight from players who get chipped down. The boss fires a steady stream of projectiles, and every one you parry not only negates damage but also contributes to the stagger buildup that eventually triggers the exhausted phase.
The timing window is generous compared to many action RPGs, but it is not instant. Watch the projectile's travel arc rather than the boss's animation, and press your parry input as the projectile crosses into your character's hitbox. If you are struggling, the parry and block fundamentals guide breaks the timing into practice drills you can run outside a boss arena.
Here is a step-by-step parry routine for the summit encounter: begin by keeping your character squared toward the boss so the projectile's travel line stays readable, then hold block between volleys to conserve the stamina you will need for the flank reposition. Tap parry the instant the projectile crosses into your hitbox rather than when it leaves the boss's hands, since the Albaneve boss's frost shards and ice-lance volleys travel on a slight downward arc that punishes early inputs. Land the parry, then immediately slide toward the boss's flank to punish the exposed weak point before the next volley loads.
-
Keep your character facing the boss so the projectile path stays predictable.
-
Hold block between volleys instead of spamming parry, which wastes stamina.
-
Tap parry the moment the projectile enters your hitbox, not when it leaves the boss.
-
After a successful parry, immediately reposition toward the boss's flank for the weak point.
-
If you miss, roll sideways rather than backward, since backward rolls often carry you off the ledge.
Common Parry Mistakes
The most frequent error is parrying too early because the projectile looks faster than it is. The second is trying to parry while out of stamina, which fails silently and leaves you wide open. Keep an eye on your stamina bar and disengage to recover rather than forcing a parry you cannot afford.
A third mistake is ignoring the multi-projectile volleys. When the boss fires several shots in sequence, parry each one individually rather than holding block, because a held block only absorbs the first hit cleanly. The Albaneve Summits boss telegraphs these volleys with a distinct wind-up animation, and each projectile arrives roughly half a second apart — enough time to reset your parry timing between shots. If you rely on a held block, the second and third projectiles bypass your guard entirely and stagger you, opening the door to a follow-up slam that can wipe most of your health bar. Treat every volley as a rhythm: parry, recover, parry again, and only fall back on blocking as a last resort when your stamina is already depleted.
Best Weapons and Builds for This Boss
Choosing the right loadout is where most of your success comes from. The best weapons for bosses in Enshrouded tend to combine high stagger with a damage type the boss does not resist, and the summit fight is no exception. Shock-infused weapons and stun-heavy builds sit at the top of the list.
| Build Archetype | Recommended Weapon | Why It Works |
|---|---|---|
| Juggernaut melee | Shock two-hander | High stagger + weak point access |
| Ranger | Stun arrow bow | Triggers exhausted phase fast |
| Battlemage | Shock staff | Ranged stagger, safe positioning |
| Hybrid | Shock melee + stun arrows | Covers both phases |
Upgrading Before You Fight
Do not walk into the summit under-geared. Enhancing your weapon at the blacksmith raises its base damage, which multiplies against the weak point bonus and makes the exhausted phase far more rewarding. If you are unsure whether a piece of gear is worth keeping, the salvage and enhancement guide explains which upgrades pay off and which are a waste of materials.
Consumables matter too. Bring stamina-boosting food such as Grilled Wolf Meat or Honey-Glazed Root Vegetables so your stamina bar stays topped up through repeated parries against the Albaneve boss's projectile volleys and your dodge rolls during its ground-slam combos. Running dry mid-fight is the real killer — an empty stamina bar means you cannot parry the next ice shard, cannot roll out of the follow-up, and eat a full hit instead. The exhausted window after the boss's big attack string is short, so arriving at it with full stamina lets you dump your heaviest weapon skills and ranged burst without pausing to recover. Stack one stamina food buff before you enter the arena and keep a second portion in your quick slot for the phase transition.
Phase-by-Phase Fight Strategy
The encounter runs through three recognizable phases, and knowing what each one demands keeps you from panicking when the boss changes behavior. In Phase 1 (roughly 100%–70% HP) the Albaneve boss leans on slow overhead slam combos and a telegraphed frost nova, so you can stay aggressive and bank damage before the arena hazards stack up. Phase 2 (70%–40% HP) adds the projectile volleys that punish greedy melee windows — this is where learning to parry the boss projectiles pays off, since a clean parry reflects the shard back for bonus stagger instead of forcing a dodge. Phase 3 (below 40% HP) triggers the enrage timer and summons adds, so you want your best weapons for bosses already buffed and your resistances stacked against frost before the transition, not during it.
Phase 1: Opening Volleys
The boss opens with ranged pressure, so your job is to parry projectiles and build stagger without overcommitting. Stay mobile, keep your stamina above half, and chip away with stun arrows or shock attacks. Do not chase the weak point yet, because the boss is still airborne and mobile.
Phase 2: The Exhausted Window
This is the phase the 1.0 rework added, and it is where you win the fight. Once the stun meter fills, the boss drops onto the walkable area and stays grounded for a limited time. Sprint to its back, hammer the weak point with your highest-damage combo, and repeat until the window closes. Melee builds should treat this as their entire damage plan.
Phase 3: Recovery and Reset
After the exhausted phase ends, the boss returns to ranged pressure and the cycle repeats. Use this window to heal, restore stamina, and reposition. If you get pushed off the platform, use a grapple anchor to swing back rather than falling to your death.
| Phase | Boss Behavior | Your Priority |
|---|---|---|
| Opening | Ranged volleys | Parry + build stagger |
| Exhausted | Grounded, vulnerable | Weak point burst damage |
| Recovery | Returns to ranged | Heal, reposition, reset |
Practical Boss Fight Tips
A few habits make the difference between a clean kill and a frustrating wipe. Keep these in mind every attempt. The single biggest cause of wipes in the Albaneve Summits arena is running out of stamina mid-mechanic: a failed parry on the boss's projectile volley leaves you staggered for roughly two seconds, which is long enough to eat a follow-up slam. Watch the bar, not just the health bar — if you are below 30% stamina when the boss winds up, disengage and reset rather than gamble on a parry.
-
Manage stamina first. Parrying, rolling, and sprinting all drain it, and an empty bar means a failed parry.
-
Bait before you burst. Let the boss commit to a frontal attack, then move to its flank during recovery frames.
-
Use the wider arena. The 1.0 rework widened the platform, so you have more room to kite than older guides suggest.
-
Stack shock and stun. These two scale together and trigger the exhausted phase faster than raw damage alone.
-
Bring a backup weapon. If your main element underperforms, a physical fallback keeps your damage relevant.
Co-op groups should split roles explicitly rather than improvising: designate one player as the baiter, whose job is to stand at mid-range and provoke the boss's frontal projectile volley, then parry it to open the stagger window. The second player ignores the bait entirely and commits to the weak point — typically the exposed frost core on the boss's back during recovery frames — stacking shock and stun so the exhausted phase arrives before the bait player's stamina bar bottoms out. Solo players inherit both jobs at once, which is why the stamina threshold matters even more: every parry you spend on baiting is a parry you cannot spend repositioning to the flank, so solo runs should favor rolling through the volley over parrying it whenever stamina sits below 50%, trading a slower stagger for a guaranteed reset.
Frequently Asked Questions
What is the boss's biggest weakness?
The weak point on its back is the single largest damage multiplier, and since 1.0 it works for every weapon type rather than arrows alone. Pair it with shock damage and stun effects to trigger the exhausted phase quickly, then burst the weak point while the boss is grounded.
How do I trigger the exhausted phase?
Fill the boss's stun meter by parrying its projectiles and landing stun arrows or shock damage. Once the meter fills, the boss drops onto the walkable area and stays vulnerable for a limited window, which is your main damage opportunity in the whole fight.
Which damage type should I avoid?
Poison and bleed underperform because the boss's resistances blunt damage-over-time ticks. Shock is the strongest choice, physical and fire are solid secondary options, and stun arrows remain the best single tool for building stagger and reaching the exhausted phase.
Can melee builds beat this boss now?
Yes. The 1.0 rework specifically added the exhausted phase so melee builds can close the gap and access the weak point. Bring a shock two-hander, manage stamina carefully, and punish the grounded window instead of trying to trade hits while the boss is airborne.
What should I do if I get knocked off the platform?
Use a grapple anchor to swing back onto the arena. The 1.0 rework widened the platform and added these anchors precisely for this situation, so a knockback is no longer an automatic death if you react quickly and aim your grapple.
Wrapping Up
The Albaneve Summits boss is no longer the ranged-only wall it was at launch. Between the reduced health pool, the new exhausted phase, the all-weapon weak point, and the reworked stun meter, every build archetype now has a real path to victory. Focus on parrying projectiles to build stagger, match shock and stun damage to the boss's resistances, and save your biggest combo for the grounded window on its back. Do those three things consistently and the summit stops being a roadblock and becomes one of the most satisfying fights in Embervale.