
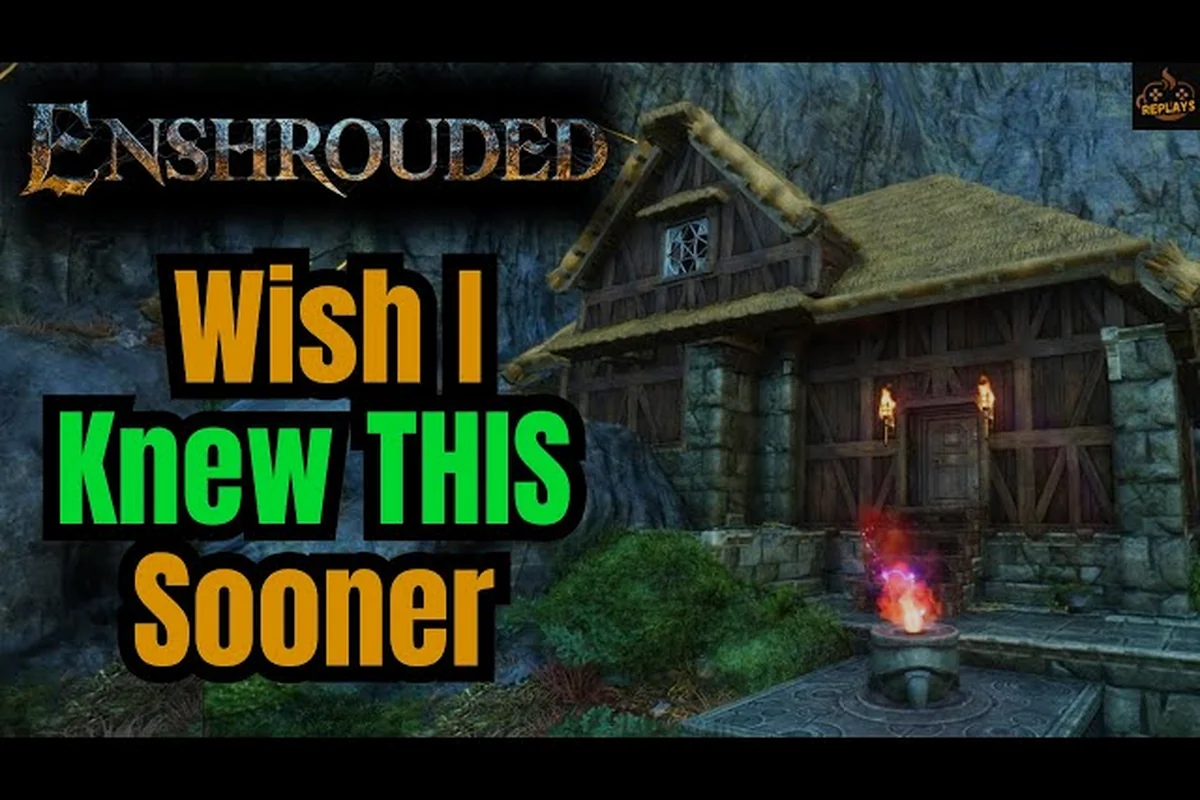
The Enshrouded construction hammer is the single tool that turns raw voxel blocks into a finished base, and knowing its full toolkit changes how fast you build. This guide covers removing blocks, entering free flying build mode, reaching awkward spots, and hardening your base against night raids.
According to the official Steam news updates for Enshrouded, the Construction Hammer is the core tool for placing and removing building pieces, and its functionality has been refined through patches documented on the Steam's official announcement feed.
Why the Construction Hammer Is Your Core Building Tool
Every voxel you place in Embervale flows through the construction hammer, which is why the 1.0 changelog added a hint pointing players toward it whenever they try to drop blocks straight from the action bar. That small tutorial nudge exists because the hammer is not just a placement tool — it is the control panel for an entire build session.
The hammer handles three jobs at once. It places materials from your inventory, it removes anything you have already built, and it opens the build menu where you pick shapes, materials and props. Once you understand that all three live on the same item, the awkward early-game fumbling disappears.
According to the official Steam store page, Enshrouded leans on voxel-based building and free terraforming as headline features, and the hammer is the interface for both. Terraforming lets you carve hillsides and fill gaps, while voxel placement lets you stack blocks in any shape you like rather than snapping to a fixed grid of prefabs.
A few core facts worth locking in before you start: the construction hammer occupies a dedicated tool slot rather than your hotbar, so you can keep weapons equipped for the Shroud while still building, and it draws materials from both your inventory and any nearby storage chests within range. That storage-pull behavior is why setting up a materials chest next to your build site speeds up large projects so dramatically — you never have to shuttle stacks back and forth by hand.
-
The hammer is a permanent tool, not a consumable — you never lose it.
-
Materials are pulled from your inventory and nearby storage when placing.
-
The build menu opens with a single key press while the hammer is equipped.
-
Removing blocks refunds materials, so mistakes cost time rather than resources.
That last point matters more than most players realize. Because removal is refundable, you can experiment aggressively with layouts and tear down anything that does not work. The voxel building guide walks through the broader placement system if you want the full picture before diving into hammer specifics.
How to Remove Blocks and Rework Existing Builds
Removing blocks is the skill that separates clean builds from messy ones, and the hammer makes it painless once you know which mode you are in. The removal function is a toggle inside the build menu, so you are never hunting for a separate demolition tool.
When you switch to removal mode, the hammer highlights whatever voxel your cursor rests on. A single click deletes that block and returns its material to your inventory. Holding the input and dragging lets you sweep across a wall or floor to clear a whole section at once, which is far faster than clicking block by block.
Here is how the main hammer actions compare so you can pick the right one on the fly: Place single block costs 1 block and suits detail work or patching gaps, while place and drag sweeps a held input across a wall or floor at 1 block per voxel for long runs. Remove single refunds 1 block for fixing one wrong voxel, and remove and drag refunds every swept block, making large corrections essentially free. Shape select is a menu toggle with no material cost, so switching between block shapes never eats into your stockpile.
| Action | Input Behavior | Best Used For | Material Cost |
|---|---|---|---|
| Place single block | Single click | Detail work, patching gaps | 1 block per placement |
| Place and drag | Hold and sweep | Walls, floors, long runs | 1 block per voxel |
| Remove single | Click in removal mode | Fixing one wrong block | Refunds 1 block |
| Remove and drag | Hold in removal mode | Clearing whole walls | Refunds all swept blocks |
| Shape select | Menu toggle | Switching block shapes | No cost |
The refund system is the reason removal feels low-risk. If you build a wall three blocks too tall, you sweep it away and the stone goes straight back into storage. Players who treat removal as a permanent loss tend to leave ugly mistakes standing, and those mistakes compound as a base grows.
One practical habit: clear a build site before you start laying foundation. Sweeping away grass, small rocks and stray voxels first gives you a flat, predictable surface, and it prevents the half-buried blocks that make walls look uneven. Community reports consistently flag uneven foundations as the most common reason a build looks off, and it is almost always fixable with a few minutes of removal work.
Free Flying Build Mode and Hard-to-Reach Places
Free flying build mode is the feature that unlocks vertical ambition, letting you hover in place and place blocks in spots you could never reach from the ground. It is effectively a creative-style camera that removes gravity from the equation while you build.
| Reachability Problem | Ground-Based Limitation | Free Flying Build Mode Solution | Typical Block Height Above Ground |
|---|---|---|---|
| Roof ridge (two slopes meet) | Placement ray fails at the seam angle; collision box blocks the interior corner | Hover directly above the ridge line and place downward into the seam | 6–10 blocks |
| Interior ceiling above head height | No floor to stand on; ray cannot reach the ceiling face from below | Park camera at ceiling level and place voxels face-down | 4–7 blocks |
| Tower top / spire | Requires full scaffolding ladder to reach the apex | Fly to the spire tip and cap it in a single pass | 12–20+ blocks |
| Underside arch support / overhang | Target sits inside the wall or under a floor, so the character collision box cannot occupy the space | Angle camera under the arch and place upward into the void | 3–6 blocks |
| Gap fill between two structures | Distance exceeds the construction hammer's placement ray range from either side | Fly into the gap midpoint and bridge from the centre outward | Varies (gap width) |
| Ectoplasm Block tier 2 material placement (1.0) | Tier 2 material requires valid adjacent face; ground ray often misses at height | Hover at the target face and rotate camera until a neighbouring face enters the ray | 5–15 blocks |
Activating it lets you rise above your base, angle the camera freely, and place voxels at any height. This is how players construct tall towers, floating platforms and roof peaks without building a ladder, climbing it, and repeating the process a dozen times. The time savings are enormous on any structure taller than two stories.
Reaching awkward spots is where this mode earns its keep, because the construction hammer's placement ray only extends so far before it fails, and any voxel beyond that range simply will not register no matter how you angle the camera. Ground-based building also forces your character's collision box to stay clear of the target, which is impossible when the block belongs inside a wall or under a floor. Consider the common problem areas:
-
Roof ridges where two slopes meet and the angle makes ground placement impossible.
-
Interior ceilings that sit above head height with no floor to stand on.
-
Tower tops and spires that would otherwise require scaffolding.
-
Underside details like arch supports and overhangs.
-
Gap fills between two structures that are too far apart to bridge from either side.
For each of these, free flying build mode lets you park the camera exactly where the block needs to go. You place it, adjust, and move on without ever touching the ground. The base location guide is worth reading alongside this, since terrain shape often decides how much flying you will actually need.
A quick workflow for hard-to-reach placement: fly to a vantage point that clears the target by two or three blocks, since the construction hammer's placement ray checks for a valid adjacent face before it commits the voxel. If the block refuses to snap, rotate the camera until a neighbouring face enters the ray's line — this is the usual cause of failed placements inside roof ridges and under arch supports, not a range problem.
-
Enter free flying build mode from the build menu.
-
Fly to a vantage point that gives a clear line of sight to the target area.
-
Switch to placement mode and select your material and shape.
-
Place the block, then nudge the camera to check alignment from a second angle.
-
Exit the mode and walk the structure to confirm it reads correctly from the ground.
That final step matters because a roof can look perfect from above and wrong from the doorway. Flying back down to ground level for a sanity check catches proportion problems before they get buried under more blocks. The reason this check is non-negotiable: the construction hammer snaps to the nearest valid adjacent face, so a ridge voxel placed from a steep overhead angle can sit one block off from where you intended, and the error only becomes visible when the silhouette is viewed straight on. Walk a full loop around the base — past each corner and through the main entrance — to confirm rooflines, tower spires and underside arch supports read the way you planned. Fixing a misaligned ridge block now costs one removal and one placement; discovering it after you have layered three more rows of roofing means tearing down the stack above it first.
Building a Base Defense Guide: Protecting Your Base at Night
A base defense guide only becomes relevant once you have something worth defending, and in Enshrouded that usually means the moment you place your first Flame Altar and start storing materials. Night brings hostile creatures, and an open-walled build invites them straight to your crafting stations.
The good news is that defense in Enshrouded is mostly about geometry rather than combat stats. Enemies path toward your base and attack what blocks them, so a solid perimeter does more work than any weapon you hang on the wall. Think of your base as a shape problem: reduce the number of easy entry points and you reduce the number of fights.
Here is how the common defensive structures compare in practice, using the Construction Hammer's build mode to weigh each option before you commit materials. A solid outer wall and a raised foundation both rate high effectiveness for medium effort, since they block enemy pathing outright rather than just slowing it. A single narrow gate costs almost nothing to leave open yet channels attackers into one kill zone, while a ditched perimeter demands the most digging time for only medium payoff. An open courtyard, by contrast, offers no protection at all — every crafting station and storage chest inside it becomes a free target once night falls.
| Defense Layer | Purpose | Build Effort | Effectiveness |
|---|---|---|---|
| Solid outer wall | Blocks pathing entirely | Medium | High |
| Raised foundation | Prevents ground-level entry | Medium | High |
| Single narrow gate | Channels enemies to one point | Low | Medium |
| Ditched perimeter | Slows approach | High | Medium |
| Open courtyard | No protection | None | Very Low |
The single most effective move is a continuous outer wall with one controlled entrance. Enemies that cannot path through a wall will funnel toward the opening, which means you fight them in one place instead of five. Pair that with a raised foundation and most night attacks never reach your interior at all.
Lighting is the quiet second layer. Placing light sources around your perimeter improves visibility so you can spot approaching creatures before they are on top of your storage. The magic chests and lighting guide covers storage and light placement together, which is handy because your most valuable materials are usually the ones you want deepest inside the walls.
A practical defensive checklist for a new base: before nightfall, use the Construction Hammer to confirm the outer wall has no gap wider than one block, since even a single-block opening lets enemies path straight to your Flame Altar. Raise the foundation at least one block above surrounding terrain so ground-level creatures cannot step onto your floor, and keep exactly one narrow entrance you can watch. Place light sources along the perimeter rather than only indoors, then store rare materials behind two layers of wall. Finally, walk the perimeter yourself and look for any climbable spot — if you can scale it, so can they.
- Close every gap in the outer wall before nightfall.
- Raise the foundation at least one block above surrounding terrain.
- Keep a single entrance you can watch and defend.
- Place lights along the perimeter, not just indoors.
- Store rare materials behind at least two walls.
- Test the layout by walking the perimeter and looking for climbable spots.
That last item catches problems you will never see from inside. Walk your own walls the way an enemy would, and any spot you can climb is a spot they can reach too. Enshrouded's pathing lets creatures step up onto any surface within roughly one block of their current height, so a single decorative ledge or a foundation corner left one block proud of the wall becomes a staircase straight to your Flame Altar. Use the Construction Hammer's build mode to hover over each wall segment and check its top edge is flush, then patch low spots with a block rather than a stair piece. This is also where the free flying build mode earns its keep: toggle it on to inspect the whole perimeter from above, since gaps and climbable ledges are far easier to spot in a top-down pass than from ground level.
Advanced Hammer Techniques for Efficient Builds
Once the basics are automatic, the hammer becomes a speed tool rather than a construction tool. Experienced builders chain placement, removal and flying into a single continuous motion, and the difference in output per hour is dramatic. The reason is that the hammer's alternate mode is a toggle, not a per-block action: switching between build and remove costs a moment of input each time, so a builder who toggles 200 times per session loses far more time than one who batches. Watch a veteran lay a foundation — they place a full row, fly to the next corner with free flying build mode, place the next row, then sweep back through the whole footprint in removal mode to trim overhangs, never touching the toggle mid-row. That rhythm, not raw click speed, is what separates a 30-minute shell from a two-hour one.
The biggest efficiency gain comes from building in layers rather than finishing one wall completely before starting the next. Lay a rough shell first — outer walls, floor, roof outline — then return to refine details. This keeps you in placement mode longer and minimizes the mode-switching that eats time.
Material choice also affects how often you need the hammer at all. Higher-tier blocks like the Ectoplasm Block, which the 1.0 changelog reclassified as a tier 2 building material, hold up better and often look more finished without extra trim work. Spending a little more on quality blocks can reduce the total number of placements a build requires.
A few habits that separate fast builders from slow ones: veterans keep the hammer's alternate mode bound to a single hotkey and toggle it in bursts rather than per block, since each switch costs a moment of input that compounds across a 200-toggle session. They also pre-place a storage chest within material range before laying the first foundation block, so the Ectoplasm Block and other tier 2 materials never trigger a mid-build flight back to base. Above all, they sequence work by altitude — ground-level placement first, then free flying build mode for anything above shoulder height — because vertical repositioning in flight mode is faster than stacking scaffolding, and it keeps the toggle in placement mode for longer stretches.
-
Build the shell first, then decorate — never the reverse.
-
Batch your removal work instead of fixing mistakes one at a time.
-
Use free flying build mode for anything above shoulder height.
-
Keep a storage chest near the build site so materials are always in range.
-
Save complex shapes for last, when the structure is already stable.
Players who level up alongside their building projects also find the process smoother, since better gear and skills make gathering the raw materials far quicker. The leveling guide explains how to keep progression and construction moving in parallel rather than treating them as separate grinds.
One more technique worth adopting: build a small test structure before committing to a large one. A two-by-two wall section lets you check how a material looks, how a shape reads, and whether your proportions feel right — all for a handful of blocks you can sweep away afterward. Because removal refunds materials, the test costs nothing but a minute of your time.
Frequently Asked Questions
How do I remove blocks in Enshrouded?
Equip the construction hammer and open the build menu, then toggle into removal mode. Click a single voxel to delete it, or hold and drag to sweep across a whole wall. Every removed block refunds its material to your inventory, so reworking a build never costs you resources.
What is free flying build mode used for?
It is a gravity-free camera that lets you hover and place voxels at any height. Use it for roof ridges, tower tops, interior ceilings and any spot you cannot reach from the ground. It removes the need for scaffolding on tall structures and saves significant time on multi-story builds.
How do I protect my base from night attacks?
Build a continuous outer wall with a single controlled entrance, and raise your foundation at least one block above the surrounding terrain. Enemies path toward openings, so narrowing entry points concentrates fights in one place. Add perimeter lighting so you can spot approaching creatures before they reach your storage.
Can I build in hard-to-reach places without flying?
Yes, but it is slow. You can stack temporary blocks into a staircase, climb it, place your target voxel, then remove the staircase afterward since removal refunds materials. Free flying build mode is simply faster and cleaner for anything above shoulder height.
Does the construction hammer cost anything to use?
No. The hammer is a permanent tool you never lose, and it does not consume durability or charges. Placement draws materials from your inventory and nearby storage, while removal returns those materials. The only real cost of building is the time you spend gathering blocks.
Final Thoughts on Hammer Mastery
The construction hammer rewards players who treat building as an iterative process rather than a one-shot effort. Removal refunds materials, free flying build mode removes height limits, and a solid perimeter wall handles most night threats without any combat at all. Master those three pieces and every base you build afterward goes up faster and holds together better.