
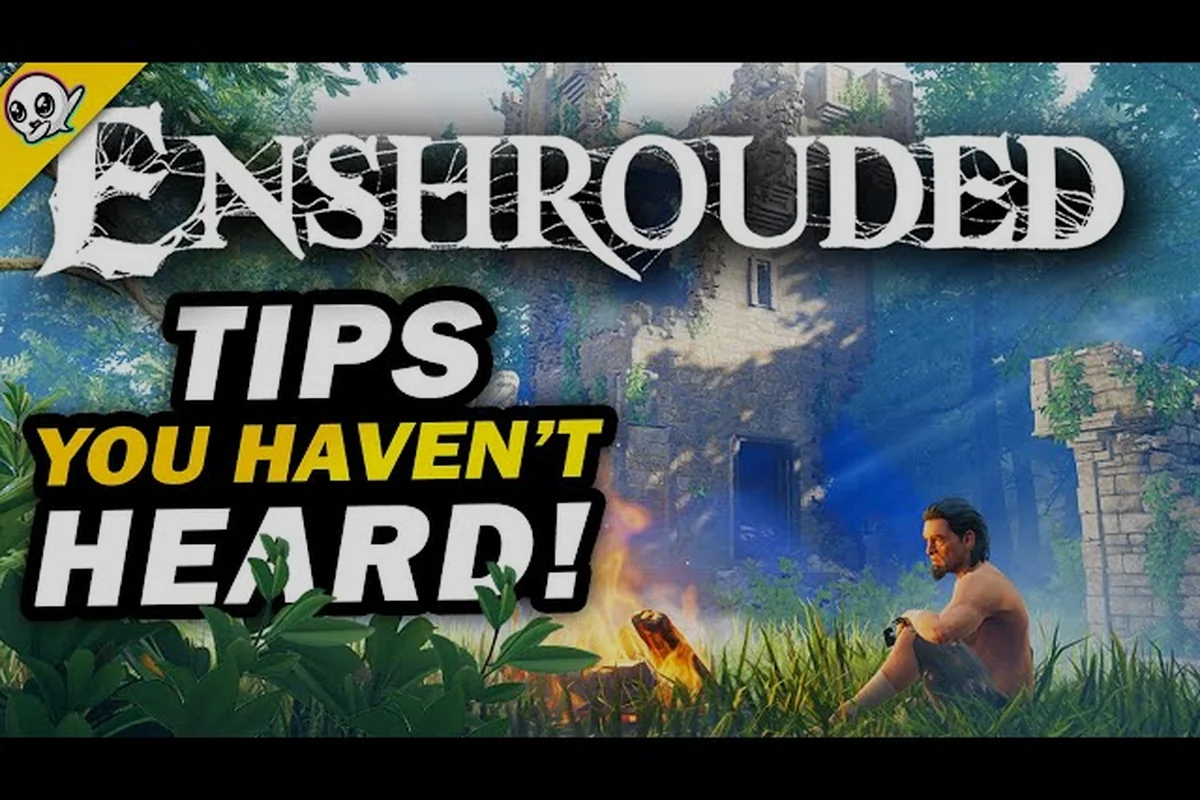
Embervale hides far more than its map markers suggest, and tracking down Enshrouded secrets and hidden areas is the fastest way to turn a survival grind into a treasure hunt. The world rewards players who climb, dive, and read the terrain carefully.
For players tracking how hidden areas are surfaced over time, the Enshrouded patch notes on Steam documents update notes that detail changes to secret locations and exploration mechanics.
Why Embervale Rewards Careful Explorers
The official Enshrouded site describes Embervale as a lost kingdom where every mountain, desert, and body of water hides a secret, and that framing is not marketing fluff. The world is hand-crafted rather than procedurally generated, which means the interesting stuff sits in fixed, learnable locations. Once you know where the ancient structures and points of interest cluster, you can route a single session around three or four discoveries instead of wandering blind.
The Shroud is the central tension here. According to the Enshrouded Wikipedia entry, the Shroud is a thick fog layer covering parts of Embervale that damages your character on a timer, but it also conceals valuable loot and treasure chests that regenerate regularly. That single mechanic defines how you explore: every deep dive is a race against a countdown, and every discovery has to be worth the risk.
A few principles keep exploration efficient: read elevation first, because climbing a Flameborn spire or ancient spire exposes points of interest and ancient structures that stay invisible at ground level, then plan your Shroud route around the nearest Shroud root so the timer resets before you loot. Because treasure chests regenerate regularly, a marked ruin you clear early can be re-farmed later, which turns a single ancient obelisk or spire into a repeatable resource node instead of a one-time detour.
-
Altitude beats distance — climbing a spire reveals terrain you cannot read from the ground.
-
Shroud time is a resource — treat the timer like a consumable you spend deliberately.
-
Ruins cluster — ancient structures rarely stand alone; one find usually signals two more nearby.
-
Mark everything — a discovered point of interest you forget is a point of interest you re-find.
The payoff is real. Community reports consistently note that the best early gear, lore fragments, and crafting materials sit behind exploration checks rather than combat checks, so a player who learns to read the map will out-gear a player who only fights.
Reading the Terrain Before You Commit
Before you sprint into fog, spend thirty seconds on a high vantage point. Spires, cliff edges, and broken towers all serve as natural survey points, and the glider plus grappling hook listed on the official Steam store page make vertical scouting cheap. Look for color breaks in the terrain, isolated ruin silhouettes, and unnatural geometry — a perfectly straight line of stone in a natural valley almost always means a structure.
Enshrouded Ancient Structures Guide: What They Hide
Ancient structures are the backbone of Enshrouded secrets and hidden areas. They come in several recognizable families, and each family hides a different reward type. Learning to identify a structure from a distance saves enormous time, because you can decide whether a detour is worth the Shroud exposure before you commit.
| Structure Type | Typical Reward | Shroud Risk | Best Approach |
|---|---|---|---|
| Sunken chapel | Lore fragments, chest | Medium | Clear mobs first |
| Broken watchtower | Grappling route, chest | Low | Climb from outside |
| Buried vault | High-tier gear | High | Bring a timer buffer |
| Cliff shrine | Skill point, elixir | Low | Glide in from above |
| Ruined bridge | Materials cache | Medium | Check both ends |
The buried vault is the one players most often skip, and it is also the one that pays best. Vaults sit below ground level, usually beneath a collapsed floor or behind a rubble wall, and they hold the kind of gear that carries you through the mid-game. The catch is that they are almost always inside deep Shroud, so you need a plan for getting out as well as in.
How to Spot a Hidden Entrance
Hidden entrances follow a small set of visual rules that the community has documented extensively. Because Enshrouded's procedural terrain reuses the same rock and masonry assets across regions, a mismatch is almost always deliberate: imported stone, misplaced mortar, or a seam that ignores the local strata signals a hand-placed vault rather than generated geometry. Vault entrances also tend to sit at the edge of a Shroud pocket, where the fog boundary hides the door frame from a distance. Look for:
-
Rubble that does not match the local rock type — imported stone means someone built something.
-
A floor that sounds hollow — vaults have air pockets beneath them.
-
Torch brackets with no torch — the bracket marks a doorway, not a decoration.
-
A wall that breaks the shadow line — false walls cast differently than real ones.
When you find a candidate, do not dig blindly. Circle the structure once at ground level and once from above; the entrance is usually on the side facing away from the nearest road, because the original builders wanted it overlooked.
If you are still learning how the Shroud timer interacts with these deep structures, the Shroud survival and flame altar guide breaks down how flame level extends your safe window, which directly changes how many vaults you can clear per run.
Enshrouded Obelisk Guide: Reading the Monuments
Obelisks are the most misunderstood points of interest in Embervale. New players often walk past them because they look decorative, but an obelisk is effectively a map annotation carved in stone. Each one marks a significant location, and the markings on its faces hint at what sits nearby.
The practical use is navigation. Obelisks are tall, they are visible from a distance, and they do not move. That makes them ideal landmarks for building a mental map of a region, especially in areas where the fog makes the horizon unreadable. If you orient yourself relative to two obelisks, you can navigate most of a biome without opening the map.
| Obelisk Cue | What It Signals | Action |
|---|---|---|
| Glowing rune band | Active point of interest nearby | Search within 100m |
| Cracked upper face | Structure is partially collapsed | Check for vault below |
| Clean, unmarked stone | Region landmark only | Use for navigation |
| Runes pointing down | Underground entrance close | Scan the ground |
Using Obelisks as Fast Travel Anchors
Obelisks pair naturally with the fast travel network. Because they sit at fixed, memorable locations, they make excellent mental anchors even when the actual fast travel point is a separate ancient spire or flame altar. The habit worth building is simple: every time you pass an obelisk, note what is within sight of it. After a few hours you will have a personal index of the map that no in-game marker can match.
The shrouded areas and fast travel guide covers how respawn and travel points interact with these landmarks, which is useful when you are planning a multi-vault route across a single biome. Treat that link as the logistics layer beneath your obelisk index: it explains why a flame altar placed near a shroud boundary can shave minutes off a run to a distant ancient spire, and how death inside the shroud sends you back to the nearest bound altar rather than the obelisk itself. Pairing the two systems — obelisks for orientation, altars for respawn — is what turns a scattered set of landmarks into a repeatable route you can re-run after every wipe.
Enshrouded Spire Climbing Guide: Vertical Exploration
Spires are the single best exploration tool in the game, and most players underuse them. A spire is a tall, climbable structure that gives you a panoramic view of the surrounding region, and the view is not cosmetic — it is functional reconnaissance. From the top of a spire you can see ruin silhouettes, fog boundaries, and terrain transitions that are completely invisible at ground level.
Climbing a spire is a stamina and route puzzle rather than a combat challenge. The grappling hook lets you skip sections that would otherwise drain your stamina bar, and the glider turns the descent into a fast, safe trip to whatever you spotted from the top. The efficient loop is: climb, survey, mark, glide to the nearest target, repeat.
| Spire Tier | Height | Survey Radius | Stamina Demand |
|---|---|---|---|
| Low ruin tower | Short | Local ruins only | Minimal |
| Standard spire | Tall | Full biome quadrant | Moderate |
| Peak spire | Very tall | Multi-biome view | High, needs upgrades |
| Floating island spire | Extreme | Entire region | Very high |
Planning a Spire Route
Do not climb spires randomly. Chain them. Pick a spire at the edge of a region, climb it, identify two or three targets, glide to the closest, clear it, then climb the next spire you can see from your new position. This creates a natural exploration circuit that keeps you moving forward instead of backtracking through fog.
Peak spires and floating island spires demand upgraded stamina, so treat them as mid-game goals rather than early-game detours. If you attempt one too early, you will run out of stamina halfway up and lose the progress. The gating stat is your stamina bar: each glide and each upward leap drains it, and the higher a spire sits above the surrounding terrain, the more consecutive leaps you need before you can rest on a ledge. A reliable benchmark is to bank at least two stamina upgrades from the skill tree plus a stamina-boosting food buff before you commit to a floating island spire — that combination gives you enough reserve to recover from a missed leap instead of plummeting. Note also that spires double as fast-travel anchors once activated, so a failed early climb costs you both the height and the convenience of a network node you could have used to cross the shroud at a lower altitude.
How to Cross the Shroud Safely
Crossing deep Shroud is the skill that unlocks the best Enshrouded secrets and hidden areas, and it is entirely a preparation problem. The fog does not care how strong you are; it cares how long you stay. Every technique below is about buying time or spending it better.
The core loop for a deep crossing looks like this: bank your time at the altar, spend it on the glide in, then spend the return leg on a different exit. A typical run reads as roughly 90 seconds of Shroud timer at flame level 3, minus about 15 seconds lost to the glide descent from a high ledge, leaving 75 seconds of actual looting before the 60 percent turn-back point at 54 seconds. That margin is what separates a clean obelisk grab from a death spiral, because the Shroud timer does not pause while you fight, loot, or read a lore tablet inside an ancient structure.
-
Raise your flame level at a nearby altar so your safe window is longer.
-
Stock Shroud-resistance consumables before you enter, not during.
-
Pick an entry point on high ground so you can glide inward instead of walking.
-
Set a hard turn-back time at roughly 60 percent of your timer.
-
Exit via a different route than you entered, ideally toward a known landmark.
That fourth step is the one players ignore, and it is the one that kills runs. If you always turn back at 60 percent, you will never die to the timer, and you will still reach most buried vaults because they sit closer to the fog edge than they appear.
Consumables and Gear That Extend Your Window
Shroud resistance comes from a mix of consumables, gear, and flame level. The hourglass capsule and Shroud-clearing guide explains how the capsule items interact with the timer, which is essential reading before you attempt a long vault run. Stacking resistance sources is the difference between a comfortable 90-second dive and a panicked sprint back to the fog line.
| Preparation Layer | Effect | Priority |
|---|---|---|
| Flame level upgrade | Longer base safe window | Highest |
| Resistance consumable | Temporary timer extension | High |
| Gear with Shroud stats | Passive resistance | Medium |
| Route planning | Fewer wasted seconds | Highest |
Knowing Your Turn-Back Time
Retreat is not failure; it is the mechanic working as designed. If you hit your turn-back time and have not found the vault, leave and come back with better preparation. The chests regenerate, the loot respawns, and the structure will still be there. The only permanent loss is the gear you drop when the timer kills you.
Points of Interest Worth Prioritizing
Not all Enshrouded points of interest are equal. Some give permanent character power, some give one-time loot, and some are pure navigation aids. Prioritizing the permanent upgrades first compounds your exploration ability for the rest of the game. The clearest example is the cliff shrine: each one grants a permanent skill point that feeds directly into your skill tree, so a shrine cleared at level 5 is still paying dividends when you are pushing into the Kindlewastes at level 25. Elixir wells work differently but stack toward the same goal — they are repeatable, so you can re-run them whenever your Shroud timer or survivability needs a bump before a deep dive. By contrast, a buried vault's one-time gear drop only matters once, and obelisks and spires are pure infrastructure. That asymmetry is why the ranking below puts shrines and wells above the rest: every permanent upgrade you bank early raises the ceiling on what you can safely loot later.
| Priority | Point of Interest | Why It Matters |
|---|---|---|
| 1 | Cliff shrines | Permanent skill points |
| 2 | Elixir wells | Character power, repeatable |
| 3 | Buried vaults | Best gear tier access |
| 4 | Obelisks | Navigation infrastructure |
| 5 | Spires | Reconnaissance infrastructure |
| 6 | Ruined bridges | Material caches |
The logic is straightforward: shrines and wells make you stronger, stronger characters survive longer Shroud dives, and longer dives reach better vaults. Obelisks and spires do not make you stronger directly, but they make every subsequent trip more efficient, which is why they sit just below the power upgrades rather than at the bottom.
Building a Personal Discovery Log
The single habit that separates efficient explorers from wandering ones is keeping a discovery log. Note the coordinates or a nearby landmark for every obelisk, spire, vault, and shrine you find. Because the world is hand-crafted and fixed, your log becomes a permanent asset that carries across playthroughs and even into co-op sessions with friends, since the same structures exist for everyone.
Frequently Asked Questions
What are the best Enshrouded secrets and hidden areas for early gear?
Buried vaults and cliff shrines give the strongest early returns. Vaults sit below collapsed floors inside deep Shroud and hold mid-game gear tiers, while cliff shrines award permanent skill points. Prioritize shrines first because the skill points make every later vault run safer and faster.
How do I find hidden entrances in ancient structures?
Look for rubble that does not match the local rock, hollow-sounding floors, empty torch brackets, and walls that break the natural shadow line. Circle each structure once at ground level and once from above, since hidden entrances usually face away from the nearest road.
Do obelisks do anything besides look decorative?
Yes. Obelisks act as fixed landmarks and navigation anchors, and their rune markings hint at nearby points of interest. A glowing rune band signals an active location within roughly 100 meters, while downward-pointing runes suggest an underground entrance close by.
How do I cross the Shroud without dying?
Raise your flame level, stock resistance consumables before entering, glide in from high ground, and set a hard turn-back time at about 60 percent of your timer. Exiting via a different route toward a known landmark prevents the backtracking that kills most deep Shroud runs.
Are spire climbs worth the stamina cost?
Absolutely. A spire climb reveals ruin silhouettes, fog boundaries, and terrain transitions that are invisible from the ground, and the glider turns the descent into a fast trip to whatever you spotted. Chain spires together to build an efficient exploration circuit instead of wandering.
Exploration in Embervale is a preparation game disguised as an adventure game. The players who find the most Enshrouded secrets and hidden areas are not the ones with the best reflexes; they are the ones who raise their flame level, read the obelisks, climb the spires, and turn back at 60 percent. Build the habit of surveying before you commit, and the map stops being a fog-covered mystery and becomes a checklist of things you already know how to reach.