
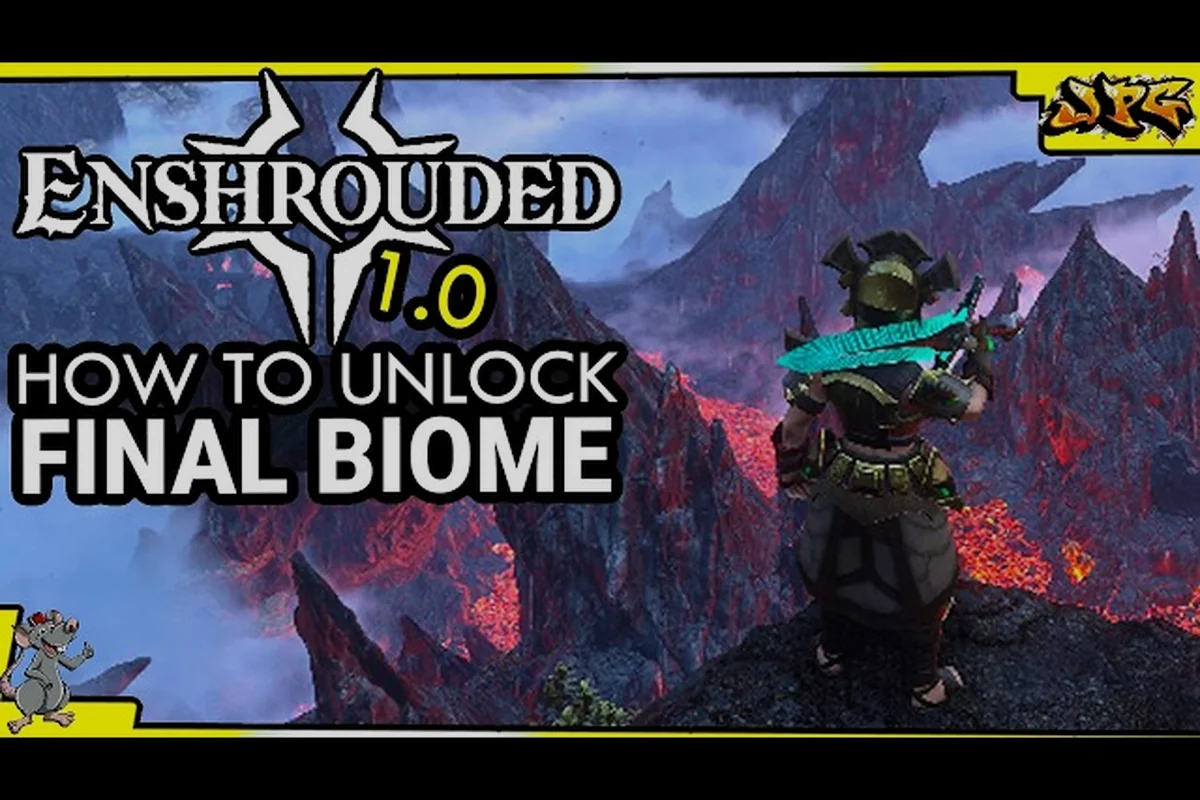
The Enshrouded Umber Hollow guide matters because this northern biome is the gateway that finally answers how to unlock the full map in 1.0. Once you push past the Veilwater Basin, the old boundaries dissolve and the entire northern half of Embervale opens up.
What Umber Hollow Actually Is in the 1.0 Map
Umber Hollow sits at the seam between the settled southern regions and the newly opened north, which makes it the single most important transition zone in the game. Before the 1.0 launch, players hit an invisible wall here; now the biome acts as a launchpad into Cinder's Cradle, the largest new region added at release. According to the the Enshrouded Steam news feed, the full map is now accessible, and Cinder's Cradle fills the northern regions past the Veilwater Basin — roughly the size of Blackmire, wedged between it and the basin.
That positioning is why an Enshrouded Umber Hollow guide is worth reading before you wander north. The biome itself is a mix of rocky highlands, scattered ruins, and Shroud pockets that punish unprepared travelers. It is not a boss arena or a loot dungeon; it is a corridor, and corridors in survival games are where underleveled players die.
Here is the quick orientation for what you are walking into: treat Umber Hollow as a gear-and-Flame check, not a destination. The corridor's shallow Shroud pools drain your Shroud timer faster than open ground because the terrain forces you along the cliff base where the pockets cluster, so a Flame level 4 altar is the practical floor before the northern push. Bring a Grappling Hook for the ridge faces and stack Shroud resistance on your chest slot — the pools here chip you on contact rather than killing outright, which is exactly what makes underleveled players misjudge the run.
-
Terrain type: rocky highlands with cliff faces and shallow Shroud pools
-
Primary role: transition corridor between the southern map and Cinder's Cradle
-
Shroud density: moderate — pockets, not full coverage
-
Recommended Flame level: at least 4 before you commit to the push
-
Key landmark: the northern ridge line that overlooks the lava wasteland below
The biome rewards scouting over charging. Players who climb the ridge first and mark Shroud pockets with map pins save themselves a dozen deaths later, because the corridor narrows sharply near the northern exit — the cliff walls close to roughly a two-body gap, and the shallow pools flanking that choke point leave no room to sidestep once your Shroud timer is already ticking. Pinning each pocket from the high ground also exposes the safe line along the eastern rock shelf, which bypasses the densest cluster entirely and keeps your Flame level 4 altar buff from burning out mid-crossing. Treat the ridge climb as the actual objective and the northern exit as the reward, not the other way around.
Why the Biome Feels Empty at First
New arrivals often report that Umber Hollow looks unfinished compared to the lush southern zones. That is intentional pacing. The developers use this stretch to slow your roll before Cinder's Cradle, which is a two-level region — a lava wasteland of ruins below and a realm of floating islands above, connected by tendrils of the Shroud. If the corridor were packed with enemies, the difficulty spike into the north would be brutal rather than dramatic.
How to Unlock the North Without Wasting Hours
Unlocking the north is a quest-gated process, not a level-gated one, and this is where most players get stuck. You cannot simply walk north and expect the fog to lift. The 1.0 changelog confirms the full map is accessible, but access is earned through the main story chain, so rushing the geography without progressing the quests leaves you staring at a wall.
The practical sequence looks like this, and the ordering matters more than the individual steps: the southern quest chain gates the northern reveal, so completing it first is non-negotiable, while Flame Altar level 4 is what lets you survive placing a forward base inside Umber Hollow before the Shroud timer drains you mid-build. Skipping the altar upgrade and pushing north early is the single most common way players lose an hour of progress to a forced retreat.
-
Complete the southern main quest chain until the game explicitly points you north of the Veilwater Basin.
-
Raise your Flame Altar to level 4 so you can place a forward base inside Umber Hollow without the Shroud timer killing you mid-build.
-
Scout the ridge line and pin every Shroud pocket you find before committing to a permanent base location.
-
Push through the corridor only after you have a forward altar, because retreating to the south on foot is slow and dangerous.
-
Trigger the northern reveal by reaching the designated story marker, which permanently opens the region.
If you are still assembling your early-game toolkit, the main quest walkthrough covers the glider and grappling hook unlocks that make the ridge climb far less painful. Trying to scale Umber Hollow's cliffs without the grappling hook is technically possible but wastes a huge amount of time.
The Flame Altar Prerequisite
Your Flame Altar level determines how far from your base you can survive inside the Shroud. Pushing north with a level 2 altar means constant retreats. The Flame Altar upgrade guide explains the shroud timer in detail, but the short version is simple: level 4 gives you enough breathing room to build a forward base inside Umber Hollow, and that forward base is what makes the northern push sustainable.
Pillars of Creation and Pikemead's Reach: The Two Anchors
Two landmarks define how you navigate the northern approach, and understanding both saves you from wandering in circles. The Pillars of Creation are towering rock formations that serve as the most reliable visual compass in the region, while Pikemead's Reach is the elevated settlement area that connects the corridor to the deeper north.
An Enshrouded Pillars of Creation guide is essentially a navigation guide, because the pillars are not a dungeon — they are a landmark system. From the top of the ridge, the pillars line up with the northern exit of Umber Hollow, so if you can see them, you know you are facing the right direction. Players who lose their bearings in the Shroud pockets should climb to the nearest high point and reorient using the pillar silhouettes.
Pikemead's Reach works differently. It is a vertical zone, which means the grappling hook and glider are mandatory rather than optional. The reach sits above the corridor floor, and the path north runs through it rather than around it. If you are building a base here, place it on the lower shelves where the Shroud is thin, then use the upper platforms purely for traversal.
| Landmark | Function | Traversal tool needed | Base-friendly |
|---|---|---|---|
| Pillars of Creation | Visual compass / navigation | None (viewpoint only) | No |
| Pikemead's Reach | Vertical route north | Grappling hook + glider | Yes (lower shelves) |
| Umber Hollow corridor | Transition zone | None | Yes (with level 4 altar) |
| Cinder's Cradle (lower) | Lava wasteland of ruins | Heat resistance | Limited |
| Cinder's Cradle (upper) | Floating islands | Glider | No |
The table above is the fastest way to plan a northern run. Notice that only two of the five zones are base-friendly, which is why most players keep their permanent home in the south and treat the north as an expedition.
Reading the Pillars Correctly
The pillars are easy to misread because they appear to shift as you move through the Shroud. The trick is to check them from a fixed high point rather than from the corridor floor. From the ridge, they align cleanly with the northern exit; from the floor, the Shroud distorts your depth perception and the alignment looks wrong. Community reports consistently flag this as the number one navigation mistake in the region.
Building an Enshrouded Resource Map for the North
A working Enshrouded resource map for the northern biomes is less about ore nodes and more about survival logistics, because the north is where resource runs get long and expensive. The southern map spoils you with short trips between base and nodes. Umber Hollow and Cinder's Cradle do not.
The core principle is to build a chain of forward bases rather than one mega-base. Each forward base should sit just outside a Shroud pocket, hold a bed, a crafting station, and a chest, and exist purely to shorten your travel time. Three small forward bases beat one large northern fortress every time, because the Shroud timer resets when you sleep and the bases give you safe logout points.
| Resource need | Southern source | Northern source | Notes |
|---|---|---|---|
| Basic stone / wood | Abundant near starter base | Scarce in Umber Hollow | Stockpile before pushing north |
| Shroud-adjacent materials | Shroud pockets in south | Dense in Cinder's Cradle | Bring extra Shroud resistance |
| Heat-zone materials | None | Cinder's Cradle lower level | Requires heat resistance gear |
| High-tier ore | Mid-map caves | Northern ridge deposits | Best farmed with forward base nearby |
The pattern is consistent: the north gives you better materials but charges you travel time for them. That trade is only worth it once your forward-base network is in place, which is why the resource map and the unlock process are really the same project.
Filling a Chest Before the Forward Altar
Before you place your first forward altar in Umber Hollow, fill a chest with stone, wood, and basic food. The corridor has thin resources, and nothing is more frustrating than running out of building materials halfway through a northern base. Treat the southern map as your warehouse and the north as your workshop.
Combat and Survival Tips for the Corridor
Umber Hollow is not a combat gauntlet, but the enemies you do meet hit harder than their southern cousins because they spawn in tighter groups near the Shroud pockets. The Hollow variants are the main threat, and they behave aggressively when you stray into their fog. If you are unfamiliar with their attack patterns, the Hollow enemies guide breaks down the bestiary and the safe engagement ranges.
The practical survival rules for the corridor are straightforward: treat the Shroud pockets as timed hazards rather than arenas, since your Shroud timer keeps draining the moment you step into the fog and every second spent brawling inside one stacks against your retreat window. Because Umber Hollow's Hollow variants spawn in tight clusters around those pockets, a single misread pull can chain three or four enemies onto you at once, so the safest pattern is to bait one group out, clear it on open ground, then reposition before the next pocket. Shroud resistance consumables buy you roughly the extra seconds you need to cross a pocket without panicking, and forward-base sleep resets keep your respawn point close to the corridor's narrowing chokepoints.
-
Never fight inside a Shroud pocket — pull enemies out into clear ground where your timer is not draining.
-
Keep a ranged option — the ridge terrain creates natural high ground, and bows or staves exploit it.
-
Carry Shroud resistance consumables — the pockets are short but frequent.
-
Mark your retreat path — the corridor narrows, and getting boxed in is the most common death.
-
Sleep at forward bases — it resets the Shroud timer and gives you a clean respawn point.
Skill investment matters here too. Mobility and stamina perks pay off far more than raw damage in a corridor biome, because most of your time is spent climbing, gliding, and repositioning rather than trading blows. The best skills to unlock first covers the mobility picks that make the northern push comfortable.
When to Retreat
There is no shame in retreating from Umber Hollow. If your Shroud timer is under a minute and the northern marker is still out of sight, turn around and sleep at your forward base. The region does not punish patience; it punishes stubbornness. Players who push through a low timer usually lose their gear in a Shroud pocket and spend an hour recovering it.
Cinder's Cradle and the Full Map Payoff
The real payoff for all this preparation is Cinder's Cradle, and it is worth the effort. The changelog describes it as two stacked levels: a lava wasteland of ruins on the bottom and floating islands on top, joined by Shroud tendrils. It also adds 12 new Shroud Roots, which is the largest single content injection in the 1.0 update.
That structure changes how you play. The lower level is a heat-management zone where you need resistance gear and careful routing, while the upper level is a glider playground where vertical movement replaces ground travel. The two levels connect through the Shroud tendrils, so you are constantly switching between heat survival and aerial traversal.
| Cinder's Cradle feature | Detail | Player impact |
|---|---|---|
| Lower level | Lava wasteland of ruins | Heat resistance required |
| Upper level | Floating islands | Glider-focused traversal |
| Connection | Shroud tendrils | Vertical route switching |
| New Shroud Roots | 12 added in 1.0 | Major farming opportunity |
| Size | Comparable to Blackmire | Large exploration time sink |
Once you clear the corridor and reach the cradle, the full map is genuinely open. There are no more invisible walls, and the northern half becomes as farmable and buildable as the south — provided you keep your forward-base network maintained.
Twelve Farmable Roots and What They Drop
The 12 Shroud Roots are the headline addition for resource-focused players. Each root is a farmable structure that yields Shroud-adjacent materials, and having a dozen of them concentrated in one region makes Cinder's Cradle the best farming zone in the game. Pair this with a forward base on the lower level and you have a sustainable northern loop that does not require constant trips south.
Frequently Asked Questions
Do I need to finish the main story to unlock the north?
No, you do not need to finish the entire story, but you do need to progress the main quest chain far enough that the game directs you north of the Veilwater Basin. The northern reveal is a story trigger, not a completion reward, so most players open it well before the final act.
What Flame Altar level should I have before entering Umber Hollow?
Level 4 is the practical minimum. It gives you enough Shroud timer to build a forward base inside the corridor without constant retreats. Pushing north with a level 2 altar is technically possible but turns a two-hour project into a full day of backtracking.
Are the Pillars of Creation a dungeon or a landmark?
They are a landmark system, not a dungeon. The pillars serve as a visual compass that aligns with Umber Hollow's northern exit when viewed from the ridge. There is no loot inside them, so do not waste time searching for an entrance that does not exist.
How many Shroud Roots does Cinder's Cradle add?
The 1.0 changelog lists 12 new Shroud Roots in Cinder's Cradle, making it the densest farming region in Embervale. Each root yields Shroud-adjacent materials, and a forward base on the lower level lets you farm them without long trips back south.
Can I build a permanent base in the northern biomes?
Yes, but only in specific spots. Umber Hollow's corridor and Pikemead's Reach's lower shelves are base-friendly with a level 4 altar, while Cinder's Cradle's upper floating islands are traversal-only. Most players keep their main base in the south and use small forward bases in the north.
The northern push in Enshrouded is really a logistics project disguised as exploration. Raise your altar, scout the ridge, anchor your navigation on the Pillars of Creation, and build forward bases before you commit — do that, and the full map opens without the usual hours of lost gear and wasted travel.