
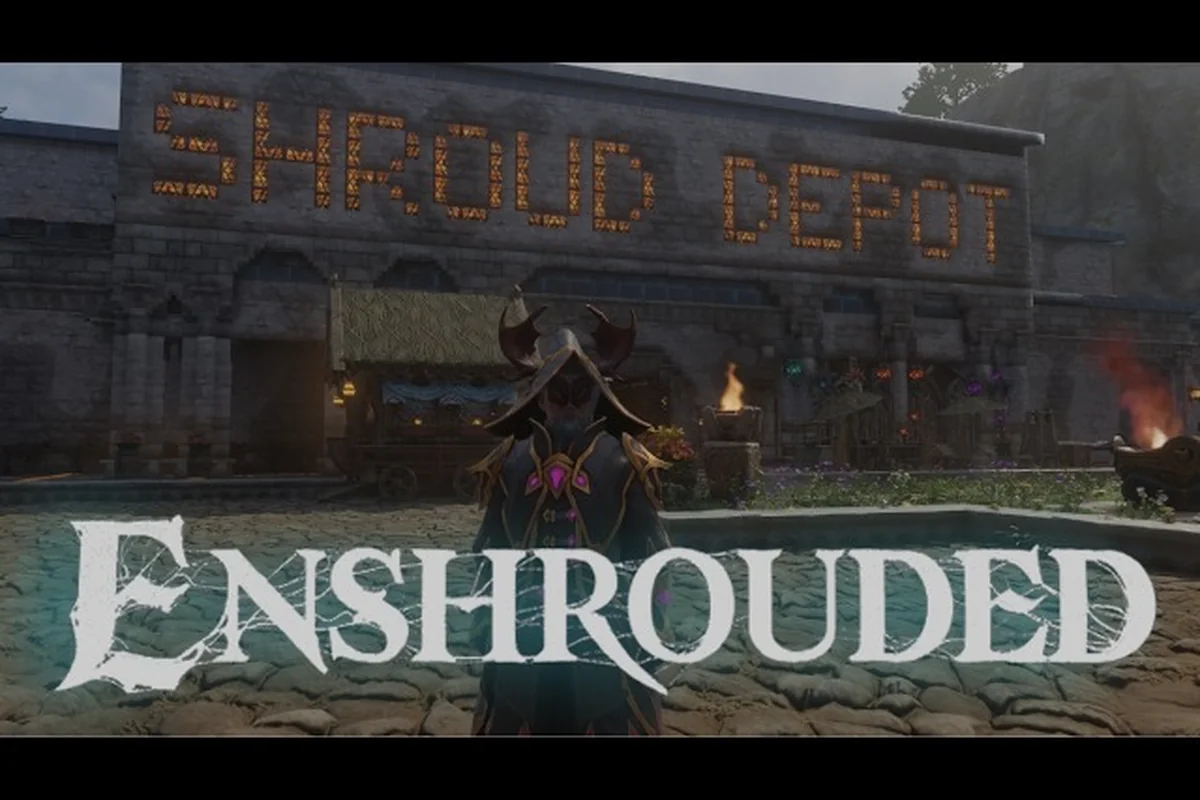
The Shroud is the fog that defines Enshrouded, and this shrouded areas guide turns it from a death sentence into a resource you can farm. Every trip inside costs time, so knowing where the roots, wells, and travel points sit changes how you play the whole map.
What the Deadly Shroud Actually Does to You
The Shroud is a thick layer of fog covering large parts of Embervale, and stepping into it starts a countdown that only stops when you leave or reach a safe pocket. According to the Enshrouded Wikipedia overview, the fog is dangerous, packed with hostile monsters, and lethal once your timer runs out — but it also hides valuable loot and treasure chests that regenerate over time. That trade is the entire point: the Shroud is a timed vault, not a wall.
Your survival inside depends on four interlocking systems: the Shroud timer counting down the moment you enter fog, Shroud elixirs that refill it mid-run, Flame Altars whose aura carves out safe pockets, and Shroud Roots you destroy to permanently clear a region. Treat the timer as a resource rather than a threat — bank two or three elixirs before a deep push, note your nearest Flame Altar as an escape hatch, and clear roots in sequence so each run starts from safer ground.
-
Shroud timer — the countdown that drains while you stand in fog, extended by elixirs and Flame Altar proximity.
-
Shroud elixir — a consumable that refills your timer, letting you push deeper or finish a fight.
-
Flame Altar — your base anchor; its aura clears fog and creates a safe zone you can retreat to.
-
Shroud Root — the corruption node you destroy to permanently clear a patch of fog.
The timer is the mechanic that ties everything together. When it hits zero, your character dies and you drop back to your last respawn point, so the fog is less about raw danger and more about planning your route before you commit. Players who treat the timer as a resource — banking elixirs, mapping exits, clearing roots in order — get far more loot per run than those who wander in blind.
Scouting Shrouded Edges From Safety
You can scout a shrouded area from the edge without burning your timer. Look for the visual boundary where the fog thickens, note any glowing Shroud Root tendrils, and check whether a Flame Altar aura overlaps the entrance. If a root is close to the edge, it is usually the safest first target because you can retreat to clear air in seconds.
Why the Timer Matters More Than Your Gear
Gear helps you win fights, but the timer decides whether you get to have those fights at all. A well-armored character who runs out of Shroud time mid-boss dies just as fast as a naked one, which is why experienced players stack Shroud elixirs before any deep push and treat the fog as a puzzle to solve rather than a brawl to win.
How to Find Shroud Roots and Clear the Fog
Finding Shroud Roots is the core loop of reclaiming Embervale, and the 1.0 update expanded this dramatically. The the Enshrouded Steam news feed confirms that the full map is now accessible and that the new Cinder's Cradle biome adds 12 new Shroud Roots on its own, split across a lower lava wasteland and an upper realm of floating islands connected by tendrils of the Shroud.
Roots are not random. They cluster around corrupted structures, and each one you destroy permanently clears the fog in a radius around it — a cleared root never regrows, so every kill is a permanent gain to your safe zone. That permanence is what makes root-hunting the backbone of reclaiming Embervale rather than a one-off chore. The radius scales with root type: a Surface Root in open fields or ruins clears only a small pocket, while a Biome Root in Cinder's Cradle or Blackmire wipes a large swath, and a Boss-Linked Root near a named enemy demands you win the fight before the clear even triggers. Prioritize the cheap Surface Roots first to carve safe corridors toward the Shroud tendrils, then push into the larger roots once your gear holds up. Here is how the common root types compare:
| Root Type | Typical Location | Fog Cleared | Notes |
|---|---|---|---|
| Surface Root | Open fields, ruins | Small radius | Easiest first clears |
| Cave Root | Underground tunnels | Medium radius | Often guards chests |
| Biome Root | Cinder's Cradle, Blackmire | Large radius | Tied to 1.0 content |
| Boss-Linked Root | Near named enemies | Large radius | Fight required first |
The practical method for locating them is straightforward. Follow the Shroud tendrils that snake outward from a corrupted zone, because they always trace back to a root. When you spot a pulsing mass of dark growth, that is your target — destroy it with any weapon and watch the fog recede.
A Three-Step In-and-Out Root Run
-
Enter at the edge closest to a Flame Altar so your retreat is short.
-
Follow tendrils inward rather than wandering, since they lead directly to the root.
-
Clear the root, then immediately mark the freed area as a new travel anchor.
-
Bank the loot from any chests that were hidden under the fog.
-
Retreat, restock elixirs, and repeat on the next root.
This loop compounds fast. Each cleared root shrinks the fog map and gives you a safe staging ground for the next push, which is why root-hunting is one of the best early investments a new player can make. If you want the broader survival context around fog, hunger, and elixirs, the hourglass capsule and Shroud survival guide breaks down the consumable side in more detail.
Elixir Wells, Respawn Points and Fast Travel
Once the fog mechanics click, the real question becomes logistics: how far from safety can you actually push? Three systems answer that. Elixir wells cap how long a single dive lasts, so a well you haven't discovered is effectively a hard timer on that region. Respawn points tied to your Flame Altars set the cost of failure — die deep in a Shroud pocket with no altar nearby and you lose the run plus the walk back. Fast travel points remove that walk entirely once activated, letting you reset, restock, and re-enter without crossing cleared ground. The practical result: your aggression ceiling isn't your gear, it's how densely you've seeded altars and anchors around a farming zone.
Elixir wells are the refill stations for your Shroud timer. They sit near corrupted zones and let you top up before a deep run, and they often double as landmarks for finding roots nearby. Respawn points are where you reappear after dying in the fog, and they are tied to your placed Flame Altars — so a badly placed altar means a long walk back. Fast travel points let you jump between discovered anchors instantly, which is the single biggest quality-of-life upgrade for Shroud farming.
| System | What It Does | How to Unlock | Best Use |
|---|---|---|---|
| Elixir Well | Refills Shroud timer | Discover near fog | Pre-run top-up |
| Respawn Point | Return after death | Place Flame Altar | Set near danger |
| Fast Travel Point | Instant teleport | Discover + activate | Chain root runs |
The strategy here is placement. Put a Flame Altar close to a dense Shroud cluster so your respawn point is minutes from the action, then activate every fast travel point you pass so you can hop back without retracing the whole map. Community data on the Enshrouded community wiki tracks these locations, though numbers may lag behind 1.0 changes, so treat them as estimates and verify in-game.
Chaining Wells and Travel Points
The strongest pattern is a triangle: an elixir well to refill, a respawn point to recover, and a fast travel point to reposition. When all three sit within a short glide of each other, you can clear multiple roots in one session without ever walking a long distance. Building that triangle early turns the Shroud from a hazard into a farm route.
Surviving Deep Shroud Runs: Strategy and Loadout
Deep runs are where the fog punishes sloppy prep, so the goal is to maximize time inside while minimizing risk. The official Enshrouded site describes Embervale as a hand-crafted world where every biome hides a secret, and the Shroud is where most of those secrets sit — which is exactly why players push deeper than they should.
A reliable deep-run loadout focuses on three things: timer extension, mobility, and a fast escape. Stack Shroud elixirs, bring a grappling hook or glider for vertical escapes, and always know your nearest fast travel point before you commit. If you are still building out your traversal tools, the main quest walkthrough and glider unlock guide covers how to get those movement options online.
| Priority | Item / Tool | Why It Matters |
|---|---|---|
| 1 | Shroud elixir | Extends your timer |
| 2 | Glider / grappling hook | Fast vertical escape |
| 3 | Flame Altar placement | Short respawn distance |
| 4 | Fast travel point | Instant retreat option |
Common Mistakes That Kill Runs
-
Entering without elixirs and hoping the timer is long enough.
-
Placing a Flame Altar far from the fog, creating a brutal respawn walk.
-
Ignoring tendrils and wandering, which wastes timer on dead ends.
-
Fighting every monster instead of pushing to the root and leaving.
Avoiding these four habits alone will save more runs than any gear upgrade, because they all stem from the same root cause: treating the Shroud as a place to explore slowly instead of a timed objective to complete. The Deadly Shroud timer does not pause while you fight, loot, or backtrack, so every detour compounds — a single wasted tendril chase can cost 60–90 seconds you needed for the Shroud Root push. This is why the four mistakes above share one fix: plan your Flame Altar placement and elixir timing before you enter, then move with purpose toward the root and leave. Players who treat each Shroud run as a sprint with a hard deadline consistently clear roots that slow, thorough explorers fail.
Matching Your Build to Shroud Content
Your build affects how comfortably you clear fog, and the fog itself shapes which builds work. Melee characters with heavy armor can tank the monsters but burn timer slowly, while ranged and magic builds clear roots from a distance and retreat faster. The key is matching your damage type to the enemies guarding each root, since some corrupted zones resist certain attacks.
If you are still deciding where to invest points, the leveling and skill points guide explains how to scale your character without wasting early skill points on dead-end nodes. Pairing a focused build with a clean root-clearing route is what separates players who clear the map from those who keep dying at the fog line.
Adapting When a Root Fights Back
Some roots are guarded by named enemies or sit inside tight caves where you cannot kite. In those cases, clear the adds first, use an elixir to buy time, and burst the root before the timer forces a retreat. If a fight goes wrong, leave — a lost root run costs nothing but time, while a death costs you the walk back from your respawn point.
Frequently Asked Questions
What happens if I stay in the Shroud too long?
Your Shroud timer drains while you stand in fog, and when it hits zero your character dies and returns to your last respawn point. You can extend the timer with Shroud elixirs or by retreating into a Flame Altar aura, so always carry elixirs before a deep run.
How do I find Shroud Roots quickly?
Follow the Shroud tendrils that snake outward from a corrupted zone, because they always trace back to a root. Destroy the root to permanently clear the fog around it, then mark the freed area as a travel anchor so you can return without walking the whole map again.
Where are the elixir wells located?
Elixir wells sit near corrupted zones and refill your Shroud timer, so they usually double as landmarks for nearby roots. Community data tracks their positions, but 1.0 changed the map, so verify each well in-game before relying on older coordinates.
Can I fast travel between Shroud areas?
Yes, once you activate a fast travel point you can teleport to it instantly from any other discovered anchor. Placing a Flame Altar near dense fog and activating every travel point you pass is the fastest way to chain root runs without long walks.
Do respawn points cost anything to set?
Respawn points are tied to your placed Flame Altars, so setting one costs only the materials to place the altar. Put it close to dangerous fog so your death walk stays short, and upgrade your Flame Altar to expand the safe aura around it.
Clearing the Shroud comes down to three habits: follow tendrils to roots, bank elixirs before every deep push, and build a triangle of well, respawn point, and fast travel point near the fog you want to farm. Do that, and the deadly Shroud stops being a wall and becomes the richest loot route in Embervale.