
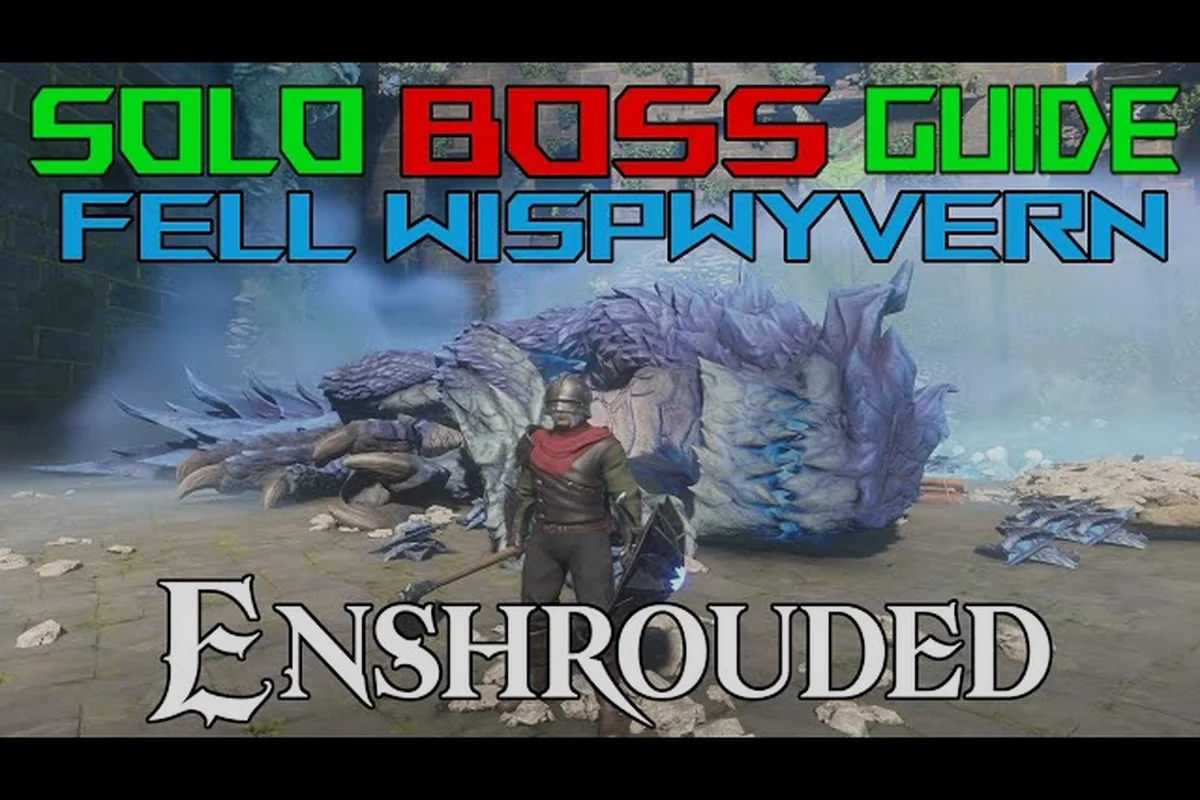
The Fell Wispwyvern is one of the most punishing airborne fights in Embervale, and this Enshrouded Fell Wispwyvern guide breaks down every dive, breath, and recovery window so you can end the fight fast. Knowing when to dodge and when to punish turns a chaotic sky duel into a controlled kill.
Why the Fell Wispwyvern Punishes Unprepared Players
The Fell Wispwyvern spends most of the encounter in the air, which means the usual ground-and-pound tactics that work on lumbering enemies fall apart here. It circles, dives, and breathes corrupted energy in wide arcs, so anyone who stands still and swings on instinct will burn through potions before the health bar moves. The fight rewards patience and pattern recognition over raw aggression.
According to the official Enshrouded store listing, the game blends solo and co-op survival action RPG combat with a deep skill tree spanning juggernaut, ranger, and battlemage paths — and the Wispwyvern is exactly the kind of enemy that forces you to commit to one of those identities rather than dabbling. A scattered build struggles against an aerial target that never lets you dictate range.
Community reports from the 1.0 launch on Steam note that enemies now recover health over time when players leave the combat area instead of resetting instantly, which gives a wiped party a small advantage when re-engaging a boss. That change matters here: if you retreat to regroup against the Wispwyvern, it will not fully heal, so a second attempt starts from a better position than a fresh pull. The key takeaways for this fight are:
-
Airborne dominance — the boss controls the vertical space, so you must bring answers to range.
-
Corrupted breath arcs — wide breath attacks punish greedy positioning.
-
A real recovery window — after each dive, it lands briefly and exposes its body.
-
Fell faction resistances — elemental matchups decide your damage output.
The Wispwyvern is not a damage check; it is a positioning check, and the dive rhythm is the tell that separates a clean kill from a wipe. Watch for the wing-fold wind-up before each dive, then sidestep perpendicular to its approach rather than backing straight up — the corrupted breath arcs land where you were standing, not where you are. That brief grounded window after every dive is your only reliable DPS phase, so front-load burst skills like a Ranger's multishot or a Battlemage's fireball into that two-to-three second opening instead of chipping at range. Players who learn this rhythm clear it with mid-tier gear, while overgeared players who ignore the pattern still die to a mistimed roll.
Where the Wispwyvern Sits Among Fell Threats
The Fell faction includes several dangerous variants, and understanding how the Wispwyvern compares helps you budget your time. If you are still mapping out the wider enemy roster, a broader Enshrouded boss guide helps you see where each fight falls in the progression curve.
| Fell Enemy | Threat Style | Primary Danger | Best Counter |
|---|---|---|---|
| Fell Wispwyvern | Airborne harasser | Dive + breath arcs | Ranged + dodge timing |
| Fell Sicklescythe | Fast melee rusher | Bleed combos | Parry + burst |
| Fell Thunderbrute | Heavy bruiser | Shock AoE slam | Stamina management |
| Fell Monstrosity | Slow tank | Grapple grab | Kite + ranged |
| Fell Critter Queen | Swarm summoner | Add overload | AoE clear |
| Fell Dragon Youngling | Mini-boss flyer | Fire breath | Elemental resist |
That table is your quick reference for the whole Fell family. The Wispwyvern and the Fell Dragon Youngling share the airborne problem, while the Fell Sicklescythe and Fell Thunderbrute demand melee fundamentals instead. If you want a deeper breakdown of how stagger and elite mechanics interact with these fights, the boss stun meter guide explains why breaking an enemy's poise matters more than stacking flat damage.
The Fell Critter Queen and the Fell Monstrosity round out the faction as slower, more methodical fights, and the Scavenger Matron belongs to a separate enemy group entirely but uses similar add-management pressure. Recognizing these patterns lets you reuse skills across encounters instead of relearning each boss from scratch.
Reading the Wispwyvern's Dive and Breath Attacks
The entire fight revolves around two attack families: dives and breath. Once you can name what is coming, you can react instead of panic-rolling. The Wispwyvern telegraphs both with distinct audio and animation cues, and learning them is the single biggest skill jump you can make.
The dive is its bread-and-butter opener. It climbs, hovers for a beat, then slams down in a straight line toward your last known position. The breath is a slower, wider attack that sweeps a cone of corrupted energy across the ground. The dive is fast and single-target; the breath is slower but covers escape routes. Here is how the timing breaks down based on community testing:
| Attack | Telegraph | Wind-Up | Safe Response |
|---|---|---|---|
| Climbing Dive | Upward flap + shriek | ~1.2s | Dodge sideways, not back |
| Sweeping Breath | Head rears + glow | ~1.8s | Sprint out of the cone |
| Talon Grab | Hover + tilt | ~0.9s | Roll toward its body |
| Wing Gust | Fast double-flap | ~0.6s | Hold ground, then punish |
The Talon Grab is the one that catches new players, because it looks like a normal dive until the last moment. Rolling toward the boss rather than away keeps you inside its turning radius and out of the follow-up breath. The Wing Gust is a knockback tool, not a damage tool, so standing your ground and immediately countering is safe.
The Recovery Window After Each Dive
Every dive ends with the Wispwyvern grounded for a short period, and this is your only reliable damage phase. The window lasts roughly 2.5 to 3 seconds on the standard difficulty, which is enough for two heavy attacks or a full light-attack combo with a fast weapon. Do not waste it repositioning — arrive at the landing spot before it touches down.
The mistake most players make is chasing the boss during its climb instead of pre-positioning where it will land. Watch the hover direction; the dive always commits to a line, so you can walk to the endpoint and be swinging the moment it hits the ground. If you are running a ranged build, this is when you unload your biggest cooldown, because the grounded hitbox is generous and easy to crit.
If you are fighting multiple Fell enemies at once, the recovery window shrinks in practice because you have to dodge adds. Clearing the Fell Critter Queen and her swarm before engaging the Wispwyvern removes that pressure entirely. The swarm itself is the problem: each Fell Critter lunges on a short cooldown, so a single stray lunge during the 2.5–3 second grounded window can eat the heavy attack you had queued and leave you whiffing the punish. Pulling the Fell Critter Queen first — ideally with a ranged opener so the Wispwyvern stays unaggroed — lets you burn her down, then reposition for the dive cleanly. If you cannot clear the adds, at least kite them to the opposite side of the arena so the landing endpoint stays uncontested.
Loadouts That Beat an Airborne Target
Your weapon choice decides how much of the recovery window you actually convert into damage. Slow two-handed hammers hit hard but often miss the window entirely, while fast weapons and ranged options convert every landing into real numbers. The goal is maximizing damage per window, not per swing.
| Build Path | Best Weapon Type | Window Damage | Difficulty |
|---|---|---|---|
| Ranger | Bow / crossbow | Very high | Easy |
| Battlemage | Fire / shock staff | High | Medium |
| Juggernaut | One-hand + shield | Medium | Medium |
| Two-hand bruiser | Greatsword / hammer | Low | Hard |
The Ranger path is the cleanest answer because you can keep pressure during the climb phase and still burst during the landing. The Battlemage is close behind, especially with fire damage, since the Wispwyvern shows weaker resistance to burning effects than to physical damage. The Juggernaut works if you pair a fast one-hander with a shield, using the block to absorb the wing gust and the quick swings to punish landings.
Two-handed bruisers have the hardest time because their wind-up exceeds the recovery window. If that is your build, consider keeping a fast sidearm specifically for aerial bosses rather than respeccing your whole character. Elemental weaknesses matter here too — the Wispwyvern takes reduced physical damage compared to elemental, so a fire or shock coating on your weapon noticeably shortens the fight.
Elemental Weaknesses and Resistances
Testing from the community suggests the Wispwyvern resists raw physical more than it resists elemental damage, with fire performing best and shock a close second. Corrupted or shroud-typed damage is largely wasted, so leave those weapons at base. Applying a fire coating before the pull is a cheap way to add consistent damage across every recovery window.
Resistance potions on your side also matter. Bringing a shock resistance potion blunts the Thunderbrute-style shock effects if the fight drags and adds wander in, and a general damage reduction potion smooths out mistakes during the dive phase. Stock two of each before a serious attempt.
Solo vs Co-op Strategy for the Wispwyvern
The Wispwyvern scales its aggression with party size, so solo and co-op play feel different even though the attack set is identical. Solo players get cleaner telegraphs because they are the only target, while co-op parties split its attention but must coordinate the recovery window or waste it.
In solo play, the fight is a rhythm game. You dodge, you pre-position, you punish, you reset. Because all dives target you directly, you can bait the boss into landing exactly where you want, which makes the recovery window predictable. The trade-off is that every mistake is fatal, so bring healing and play the pattern rather than gambling on trades.
In co-op, the boss switches targets mid-climb, which scrambles the dive line. The fix is to spread out so a dive aimed at one player does not clip the others, then converge on the landing spot together. Assign one player to call out the breath direction so nobody gets caught in the cone. A coordinated party can chain burst windows and kill the Wispwyvern in two or three cycles, while an uncoordinated one drags the fight out and runs out of potions.
Positioning Tips That Save Runs
Positioning is the difference between a clean kill and a wipe, and a few habits carry most of the value. Keep the fight in open ground where you have room to dodge sideways, because backing into terrain removes your escape lanes. Never stand directly under the boss during its climb — that is where the talon grab lands.
-
Dodge sideways, not backward — backward rolls keep you in the dive line.
-
Pre-walk to the landing zone — arrive before it touches down.
-
Stay off walls — terrain traps you against the breath cone.
-
Watch the hover tilt — it signals a grab versus a normal dive.
-
Reset aggro if overwhelmed — use the health-regen change to regroup.
These habits apply to the whole Fell family, including the Fell Sicklescythe and Fell Thunderbrute, so drilling them here pays off across every boss run. The reason is shared AI: each Fell boss reuses the same dive-and-grab pattern, only swapping the damage type and timing window. The Fell Sicklescythe telegraphs its dive with a shorter hover than the Wispwyvern, so the sideways-dodge reflex you build here transfers directly. The Fell Thunderbrute instead chains a ground slam after the grab, meaning the pre-walk habit keeps you clear of both. Treat this fight as your training ground: master the hover-tilt read and wall discipline once, and you cut the relearning curve on the Fell Monstrosity, Fell Critter Queen, and Fell Dragon Youngling encounters later.
Loot, Rewards, and When to Move On
The Wispwyvern drops Fell-typed materials and a chance at elemental crafting components, which makes repeat kills worthwhile if you are gearing a battlemage or ranger. Farming efficiency depends on how fast you clear the recovery windows — a clean two-cycle kill beats a messy five-cycle slog every time.
| Reward Type | Drop Chance | Best Use |
|---|---|---|
| Fell crafting mats | Common | Weapon upgrades |
| Elemental essences | Uncommon | Staff / bow crafting |
| Skill point tomes | Rare | Build progression |
| Gear pieces | Uncommon | Transmog / stats |
Because enemies now regenerate health only when you leave the combat area, you can re-engage quickly after a wipe and finish a farm run without a full reset. If you are still early in progression and want to level before farming, the leveling guide covers how to bank skill points efficiently so each attempt hits harder.
Move on once you can kill the Wispwyvern in two recovery cycles without burning more than a couple of potions. At that point the fight is solved, and your time is better spent on the Fell Dragon Youngling or the Scavenger Matron, which introduce new mechanics rather than repeating the dive pattern.
Frequently Asked Questions
What is the fastest way to kill the Fell Wispwyvern?
Bring a ranged or fire-based build and punish every landing during the recovery window. The dive always commits to a straight line, so pre-walk to the landing spot and burst immediately. Two clean cycles end the fight, while chasing it during the climb wastes your only damage phase.
Does the Fell Wispwyvern resist physical damage?
Community testing suggests it takes reduced physical damage compared to elemental, with fire performing best and shock close behind. Applying a fire coating before the pull adds consistent damage across every window. Corrupted or shroud-typed damage is largely wasted on this boss.
Can I solo the Fell Wispwyvern?
Yes, and many players find solo easier because all dives target you directly, making the landing spot predictable. The trade-off is that every mistake is punishing, so bring healing potions and play the pattern instead of trading hits. A patient solo run often beats a chaotic co-op attempt.
How long is the recovery window after a dive?
The grounded window lasts roughly 2.5 to 3 seconds on standard difficulty, enough for two heavy attacks or a full light combo with a fast weapon. Slow two-handed weapons often miss it entirely, which is why a quick sidearm or ranged option is recommended for this aerial fight.
Where does the Wispwyvern fit in the Fell faction?
It sits alongside the Fell Sicklescythe, Fell Thunderbrute, Fell Monstrosity, Fell Critter Queen, and Fell Dragon Youngling as one of the faction's airborne threats. It shares the flying-boss problem with the Dragon Youngling but uses dive-and-breath patterns rather than fire breath, so the counters differ.
The Fell Wispwyvern is a positioning test disguised as a damage race, and the players who beat it cleanly are the ones who pre-position for every landing instead of chasing the climb. Learn the dive line, respect the breath cone, and convert each recovery window into burst damage — do that and the fight collapses into a short, repeatable farm.