
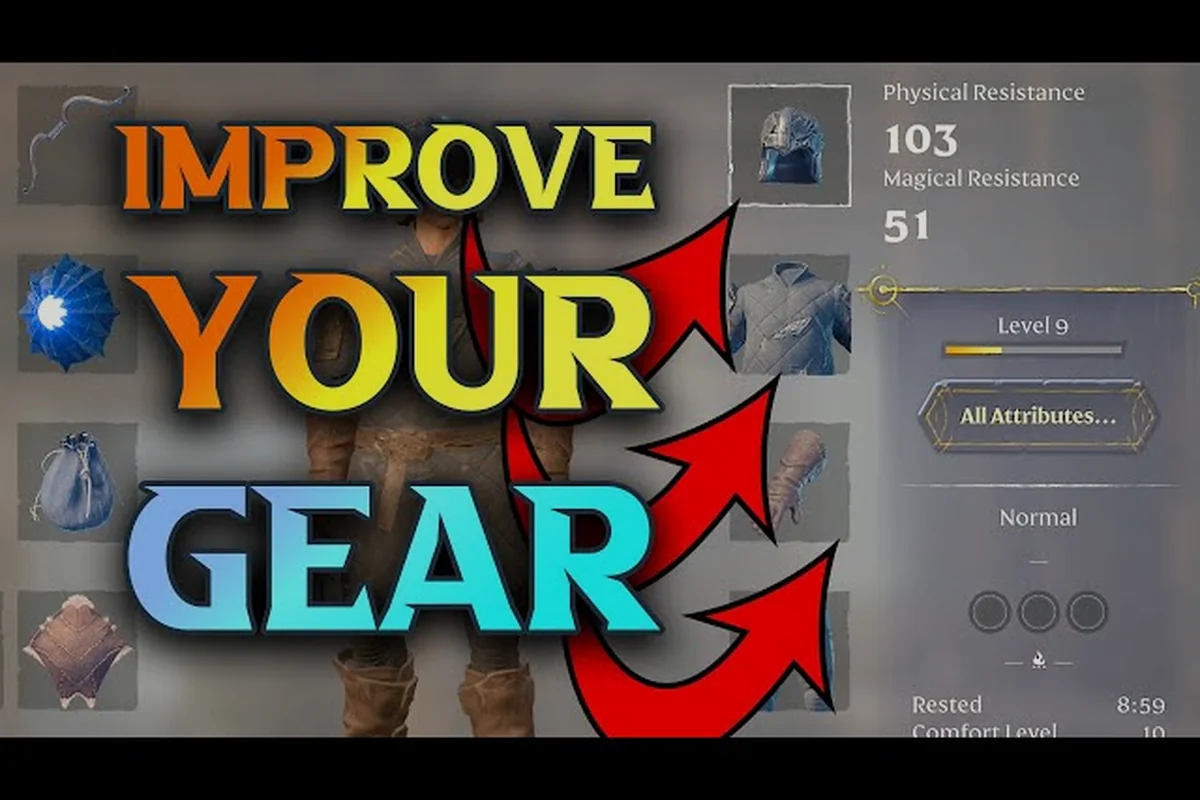
Every piece of gear you outgrow in Enshrouded still holds value, and knowing how to salvage gear turns a cluttered inventory into a steady stream of runes and crafting materials. This guide walks through the recycling loop, the enhancement path, and the gear worth chasing before you hit level 50.
The salvage system is one of the most underused mechanics in Embervale. Players hoard rusty swords and cracked armor for hours, then wonder why their storage chests overflow while their crafting benches sit idle. Once you understand what each item breaks down into, you can fund every weapon upgrade without grinding a single extra ore node.
Why Salvaging Gear Matters in Enshrouded
Salvaging is the game's built-in recycling loop, and it feeds directly into the enhancement system. When you break down an old weapon or piece of armor at a crafting station, you recover a portion of the materials that went into it — plus Runes, the currency that powers magical upgrades on your best pieces.
The math is simple: a weapon you crafted for 12 Iron Bars and 4 Twigs might return 6 Iron Bars and 2 Runes when salvaged. That is a 50 percent material recovery on a piece you were never going to use again. Stack that across a full playthrough and you are looking at hundreds of saved resources.
According to the Enshrouded Steam store page, the game is built around survival action RPG progression with deep crafting and a sprawling skill tree, which means resource management is a core loop rather than an afterthought. Salvaging sits right at the center of that loop.
A few things salvaging gives you: every piece of gear you break down at the Blacksmith or Alchemist returns a partial stack of its original crafting inputs — typically around 50 percent for common-tier items — and higher-rarity drops such as Rare or Legendary weapons yield bonus Runes on top of that base recovery. Salvaging also refunds a small amount of Crafting XP, which matters early on when you are racing toward recipe unlocks like the Forge or Kiln, since those stations gate your ability to craft the very gear you will later break down for more materials.
-
Runes for enchanting and enhancing weapons at the altar
-
Base materials like metal bars, leather, and cloth returned to your stockpile
-
Inventory space freed up for gear you actually plan to use
-
Crafting XP in small amounts, nudging you toward the next recipe unlock
The catch is that not everything is worth breaking down, and treating the Blacksmith's salvage slot like a universal delete button will quietly cost you resources. Common-tier gear such as Ragged Leather Armor or a basic Rough Wood Bow typically returns only 1–2 units of its cheapest input, which is rarely worth the trip unless you are desperate for Twigs or String. The real trap is named and quest-linked drops: items tied to Blacksmith or Alchemist turn-ins, or those feeding unique recipes like the Forge or Kiln upgrade chains, are often one-time acquisitions that cannot be re-farmed once salvaged. Before you break anything down, check whether the item appears in an active quest log entry or a recipe you have not yet unlocked — if it does, bank it in a chest instead.
How to Salvage Gear Step by Step
The process itself is quick, but the order of operations matters if you want to maximize returns. Salvaging at the Blacksmith's dismantling bench returns a fixed percentage of each recipe's core materials — typically 1 Shroud Core per tier-2 weapon and 2 Metal Scraps per iron-tier armor piece — while the Altar's crafting menu only converts finished goods back into raw stock at a reduced rate. Because salvaged output scales with item rarity rather than upgrade level, stripping a fully enhanced weapon yields the same base resources as a fresh one, so always salvage duplicates before investing Runes. Here is the full loop from pickup to recovered materials.
Finding the Salvage Option
Walk up to any Blacksmith or Workbench station you have built at your base, then open the crafting interface. Salvage is not a separate menu — it lives inside the same station where you craft, which trips up a lot of new players who expect a dedicated recycling bench.
Select the item from your inventory panel, and a small Salvage button appears next to the standard craft and repair options. Click it, confirm the prompt, and the item is consumed. Materials land directly in your backpack, not in a storage chest, so empty a few slots first.
What Each Item Type Returns
Different gear categories break down into different material pools, and the split follows a clear internal logic: metal-based items (swords, axes, heavy armor) return Iron Bars because their recipes are iron-heavy, while organic gear (bows, staves, light armor) yields Wood Logs, Resin, Leather, or Cloth instead. Salvaging a Wand is the outlier worth noting — it returns Shroud Wood and carries a High Rune Chance, which is why wand-farming is treated as a distinct salvage loop rather than a general one. The table below summarizes what you can expect based on community testing across the current build.
| Gear Type | Primary Return | Secondary Return | Rune Chance |
|---|---|---|---|
| Metal weapons (swords, axes) | Iron Bars | Twigs | Medium |
| Bows and staves | Wood Logs | Resin | Low |
| Heavy armor | Iron Bars | Leather | Medium |
| Light armor | Leather | Cloth | Low |
| Wands | Shroud Wood | Resin | High |
| Named / unique drops | Varies | Varies | Very High |
The Rune Chance column is the one that matters most long term. Wands and named drops are your best Rune sources, which is why veteran players deliberately craft cheap wands just to break them down. It sounds wasteful until you price out what a single Rune costs in raw materials.
Salvage vs. Sell vs. Store
You have three options for any unwanted item, and picking wrong costs you resources. Selling to a survivor NPC gives gold coins, which are useful for cosmetics and some vendor stock but do nothing for your crafting bench. Storing preserves the item in case a future recipe needs it. Salvaging converts it into upgrade fuel.
| Option | Best For | Downside |
|---|---|---|
| Salvage | Outgrown gear, duplicate wands | Loses the item permanently |
| Sell | Cosmetics funding, junk with no Runes | No crafting materials returned |
| Store | Quest items, rare recipe components | Takes up chest space |
If an item has a Very High Rune chance, salvage it. If it is a quest item or a component for a recipe you have not unlocked yet, store it. Everything else with a low Rune chance and no sentimental value is usually better sold than salvaged.
Enhancing Weapons and Armor
Salvaging funds enhancement, and enhancement is where your build actually comes online — a level 25 weapon with three upgrade tiers can roughly double its base damage before you ever touch a perk. The Flame Altar and the Blacksmith both handle upgrades, but they do different jobs: the Blacksmith forges and upgrades the gear itself using salvaged materials, while the Flame Altar applies the runes and perks that define how that gear behaves in combat. Skip either step and you're carrying dead weight into the Kindlewastes.
The Enhancement Path
Weapon enhancement raises a piece's base stats and can add or reroll perks. Each enhancement tier costs Runes plus a specific material — often the same metal bars you just recovered from salvaging. That closed loop is intentional: break down what you do not need, pour it into what you do. Armor enhancement follows the same structure but leans on Leather and Cloth instead of metal. The crafting materials list breaks down where each of those base resources comes from if you would rather farm than recycle.
Enhancement Cost Scaling
Rune costs do not scale linearly — they compound. Tier 1 to Tier 2 adds 3 Runes, but Tier 4 to Tier 5 adds 12, a 140% jump over the previous step. Because Shroud Cores and Iron Bars gate your Rune income, each Tier 5 attempt effectively costs a full farming run through the Revelwood Hollow Halls. Salvaging failed or outleveled gear returns a portion of those materials, which is why salvaging before enhancing is the standard loop. The table below reflects typical Rune and material costs reported by players at each tier.
| Enhancement Tier | Rune Cost | Material Cost | Stat Gain |
|---|---|---|---|
| Tier 1 | 2 Runes | 4 Iron Bars | +8% base damage |
| Tier 2 | 5 Runes | 8 Iron Bars | +16% base damage |
| Tier 3 | 10 Runes | 14 Iron Bars | +24% base damage |
| Tier 4 | 18 Runes | 22 Iron Bars | +32% base damage |
| Tier 5 | 30 Runes | 34 Iron Bars | +40% base damage |
The jump from Tier 4 to Tier 5 costs nearly double the Runes of the previous tier, so most players stop at Tier 4 on gear they plan to replace and save Tier 5 for their endgame set. That is where the best gear for level 50 planning starts to matter.
When to Enhance vs. Replace
Enhancing a weapon you will replace in two hours is a waste. A good rule: enhance anything you have used for more than three play sessions, and replace anything that drops below your current tier's baseline damage by more than 20 percent. If a fresh drop already beats your enhanced weapon's base stats, salvage the old one and move on.
Weapon Perks and Rune Choices
Perks are what separate a good weapon from a build-defining one. Every weapon can carry a limited number of perks, and enhancement tiers unlock additional slots. The weapon perks list below covers the ones that show up most often in endgame builds.
| Perk | Effect | Best On |
|---|---|---|
| Critical Hit Chance | +5-15% crit chance | Daggers, one-handed swords |
| Life Leech | Heal on hit | Two-handed weapons |
| Elemental Damage | Adds fire or frost damage | Staves, wands |
| Stamina Efficiency | Reduces attack stamina cost | Greatswords |
| Armor Penetration | Ignores a portion of armor | Boss weapons |
Rune choice interacts directly with these perks. A weapon with Elemental Damage benefits enormously from a matching elemental Rune, while a crit-focused dagger wants Runes that stack crit multiplier. The weapons guide goes deeper on which weapon families pair best with each perk archetype.
One important note from the 1.0 changelog: weapon gems were rebalanced, and the Gem of Toxic Reaction reportedly scaled from roughly +21 percent DPS at level 10 up to about 65 percent at level 50. That kind of scaling means gem and Rune choices matter far more at endgame than they do early on, so do not over-invest in low-level gem slots.
Consumables That Support Your Build
A strong weapon still needs support, and the consumables guide angle is easy to overlook. Food and drink in Enshrouded do not kill you when they run out — they reduce combat efficiency instead, which means a well-fed character simply fights better.
Key consumables to keep stocked: Cooked meat (flat melee/ranged damage buff), herbal teas (stamina regen for long Shroud runs), resistance brews (Shroud fog timer extension in heavy-fog zones), and bandages (mid-fight HP recovery when potions are on cooldown). Because food and drink buffs persist through death and stack independently of your gear's weapon perks list, salvaging a high-tier weapon without matching consumables leaves damage on the table — a level 50 character running an unenhanced rare weapon plus cooked meat often out-damages a fully enhanced epic weapon with no food active. Stock these four before every boss attempt or Shroud expedition, and treat them as part of your equipment upgrade guide checklist rather than an afterthought.
-
Cooked meat for a flat damage buff during boss attempts
-
Herbal teas for stamina regeneration on long exploration runs
-
Resistance brews for Shroud-heavy zones where the fog timer is tight
-
Bandages for mid-fight recovery when potions are on cooldown
Pairing consumables with an enhanced weapon is what makes a boss attempt feel controllable. The Albaneve Summits boss guide shows how resistance brews and stamina management change the fight's difficulty curve, especially when you are still gearing up.
Planning Your Level 50 Gear Set
Starting your salvage routine at level 35 rather than waiting for level 50 gives you a full 15-level buffer to accumulate Runes before the final enhancement push. By that point you have usually settled into one weapon family — whether that is a two-handed sword, a bow, or a wand — and you can confidently break down every off-build drop, including named items and duplicate wands, instead of letting them clog your inventory. Each salvaged piece feeds directly into the Runes and metal bars required to push your main weapon from Tier 3 to Tier 4, so the earlier you begin, the fewer ore detours you will need once the Shroud-level 50 bosses demand a fully upgraded loadout.
A practical checklist for the final stretch: before you commit Runes to a Tier 4 push, confirm your Shroud-level 50 build actually needs the piece — an off-build named drop with a wasted perk slot is worth more dismantled than equipped, since each salvage returns Runes plus Iron Bars and Leather at a rate that scales with item rarity. Prioritize breaking down duplicate wands and any weapon outside your chosen family first, then hold your stockpiled bars for the single forever piece you intend to take to Tier 5.
- Pick one primary weapon family and stop crafting others
- Salvage every duplicate wand and named drop for Runes
- Push your main weapon to Tier 4, then Tier 5 only if it is your forever piece
- Stockpile Iron Bars and Leather before the final enhancement push
- Keep resistance brews and cooked food ready for boss attempts
The best gear for level 50 is rarely a single legendary drop. It is usually a well-enhanced Tier 5 weapon with two or three synergistic perks, supported by armor that covers your build's weak stat. Salvaging is what makes that affordable, because it converts every failed drop and outgrown item into the Runes and bars you need.
Community reports suggest that players who salvage consistently reach a full Tier 5 set several hours faster than players who hoard everything, simply because they never have to detour for ore. That time savings compounds across a playthrough, and the math is straightforward: each piece of salvaged gear returns Runes plus Iron Bars and Leather at a rate that scales with item rarity, so a stash full of unused named drops is effectively a stash full of unspent enhancement materials. Rather than treating salvage as a last resort for junk, treat it as your primary material pipeline — every duplicate wand, off-build two-handed sword, or outgrown Tier 3 chest piece you dismantle is one less Shroud-ore run standing between you and the Tier 5 push your level 50 build demands.
Frequently Asked Questions
Can I salvage gear I already enhanced?
Yes, but you only recover a fraction of the enhancement materials, not the full investment. The item's base materials return at the normal rate, while Runes spent on enhancement are largely lost. Salvage enhanced gear only when you are certain you will not use it again.
Where do I find the salvage option?
It appears inside the crafting interface at any Blacksmith or Workbench station you have built. Select an item in your inventory panel and a Salvage button shows up beside the craft and repair options. There is no separate recycling bench in the game.
Is it better to sell or salvage unwanted weapons?
Salvage anything with a medium or high Rune chance, especially wands and named drops. Sell only junk items with no Rune value, since gold coins fund cosmetics and vendor stock rather than crafting. Storing is reserved for quest items and rare recipe components.
Do weapon perks carry over when I enhance a weapon?
Existing perks stay on the weapon, and higher enhancement tiers can unlock additional perk slots or reroll one perk. The reroll is random, so save it for a weapon you plan to keep long term rather than a temporary leveling piece you will salvage later.
How many Runes do I need for a full level 50 set?
A single weapon pushed to Tier 5 costs around 30 Runes, and a full armor set adds roughly 60 to 90 more depending on piece count. Budget around 120 Runes total, which is why consistent salvaging of duplicate wands and named drops matters so much in the final stretch.
Salvaging is not a throwaway mechanic — it is the engine that funds every enhancement you will ever make in Embervale. Break down what you have outgrown, pour those Runes into the weapon and armor you actually love, and keep a stack of consumables ready for the fights that matter. Do that consistently and the road to level 50 stops feeling like a grind.